 ⭐ Featured
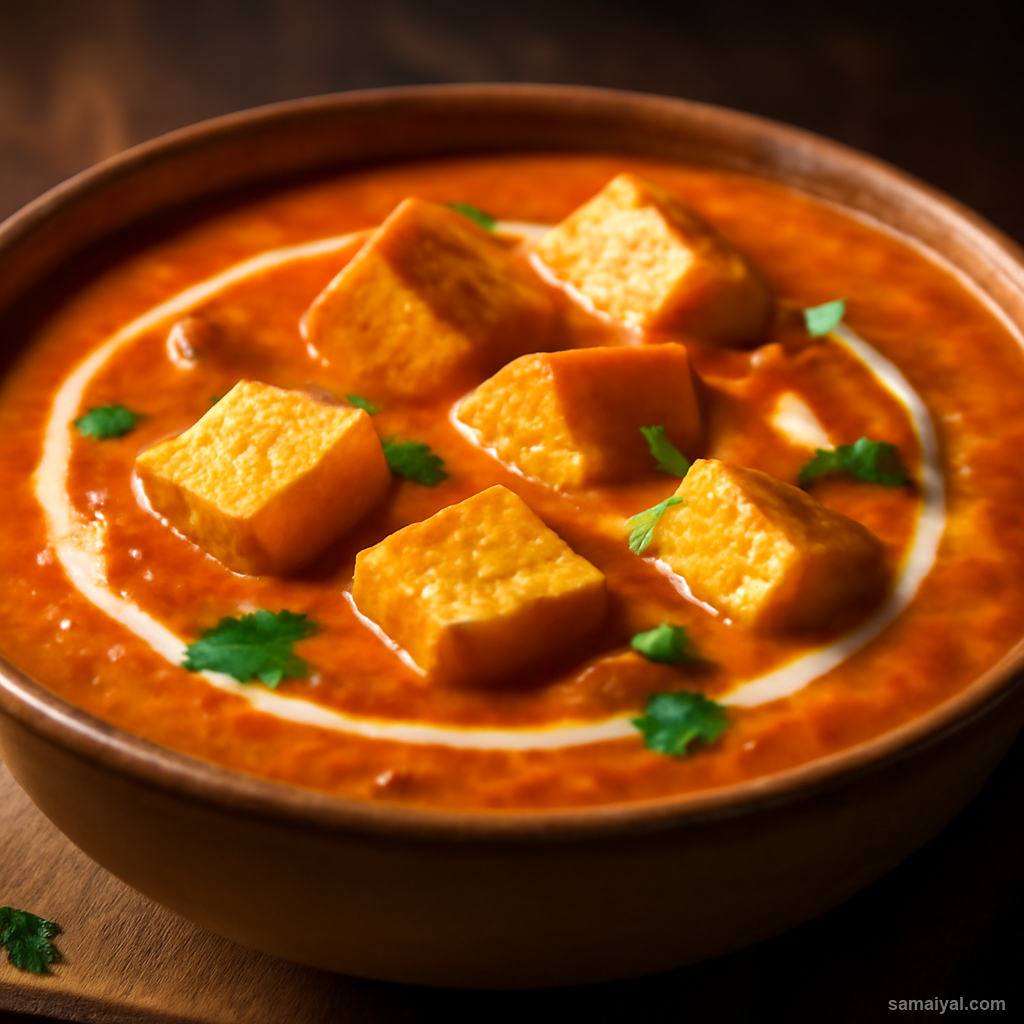
Butter Paneer Masala
Creamy tomato-based curry with soft paneer cubes — the all-time favourite of Indian...
Yellow lentils with a bold ghee and cumin tempering — the daily dal that anchors every Bihari meal
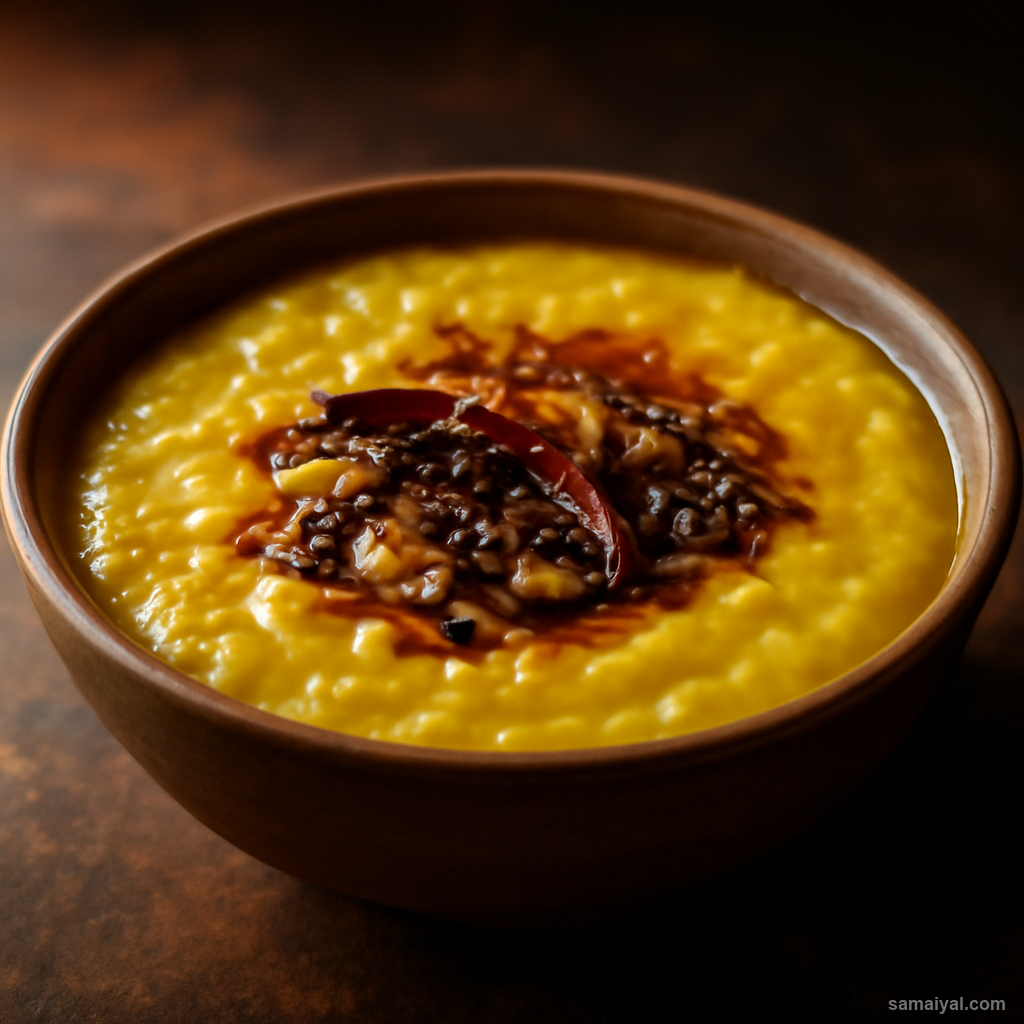
About Bihari Dal Tadka: Dal Tadka is the daily pillar of Bihari nutrition. Ghee-cumin tadka poured sizzling over softly cooked lentils — a combination perfected over centuries. Every Bihari home eats some version of this almost daily. The dish is simple in ingredients but profound in technique: the way the tadka ingredients are added in precise sequence, and the moment the sizzling tempering hits the warm dal, are details that distinguish good Bihari dal from mediocre.
Choose the right dal: Use 1 cup of arhar (toor) dal — split pigeon peas. The standard for Bihari weekday cooking. Small split yellow lentils, sold at every Indian grocer. Use only fresh dal — old dal develops a slightly stale aroma.
Wash the dal: Wash in 4-5 changes of cold water until the water runs nearly clear. Removing surface starch prevents foamy boiling.
Prepare the tomatoes: Take 2 medium tomatoes. Chop into fine 5mm dice. Slightly over-ripe tomatoes work even better — they break down faster.
Pressure cook the dal: Place the washed dal in a pressure cooker with 3 cups water, 1 tsp turmeric powder, the chopped tomatoes, and 1 tsp salt. Cook on high heat for 3 whistles, then on low heat for 5 more minutes.
If no pressure cooker: Boil the washed dal with turmeric, tomatoes, and salt in 4 cups water for 35-40 minutes until soft.
Let pressure release naturally: Switch off and wait 10 minutes for natural pressure release. Open the cooker.
The critical mash: Use the back of a wooden spoon to lightly mash the dal against the sides of the cooker. The dal should look creamy with some lentil shapes still visible — keep some texture.
Adjust the consistency: The dal should be moderately thick — like a thick pourable soup. If too thick, stir in 1/2 cup hot water. If too thin, simmer 2-3 more minutes uncovered.
Keep the dal warm: Reduce heat to lowest while you prepare the tempering.
Understand the tadka technique: The tadka (tempering) is the soul of Bihari dal. The precise sequence — ghee first, cumin sizzling, garlic golden, dried chillies and hing, all poured over warm dal — produces the distinctive Bihari flavour profile. Each step matters.
Prepare the garlic: Take 4 garlic cloves. Peel and slice thinly into rounds. Sliced rather than minced — the sliced garlic stays visible in the final tadka, which is the Bihari style.
Prepare the dried red chillies: Take 2 dried red chillies. Snap each in half. Tap out and discard most of the seeds for milder heat.
Measure the cumin: Use 1 tsp whole cumin seeds. Have ready in a small bowl beside the stove.
Use a small tempering pan: Use a small tempering pan or any small pan over medium-high heat. The Bihari tadka technique uses ghee, not oil — this is the defining characteristic. Use 2 tbsp pure ghee.
The critical ghee heating: Heat the ghee for 30 seconds until very hot — almost smoking but not quite. The ghee must be hot enough that the cumin sizzles immediately on contact.
The sizzle test: Drop one cumin seed into the ghee. It should sizzle vigorously and rise within 1 second. If it sinks slowly, the ghee is not hot enough.
Add the cumin first: Add the 1 tsp cumin seeds. They will sizzle aggressively and turn golden brown within 10-15 seconds.
Add the garlic next: Add the sliced garlic. Stir constantly for 1-2 minutes until the garlic turns deep golden — almost crispy. Watch carefully — garlic in ghee browns faster than garlic in oil. The deep golden colour is essential for the Bihari character.
Why deep golden garlic matters: Pale garlic has a sharp raw character; burnt garlic is bitter; deep golden garlic is sweet, nutty, and aromatic. The window between golden and burnt is small — about 30 seconds.
Add dried chillies and hing: Add the broken dried red chillies and a pinch of asafoetida (hing). Fry for 30 seconds — the chillies will darken and the hing will release its strongly aromatic sulphury character.
The critical pour-over moment: Switch off the heat under the tempering pan. Take the cooker off the heat. Immediately pour the entire sizzling tempering — ghee, cumin, garlic, chillies, hing — over the warm dal. The dal will hiss dramatically and the kitchen will fill with the aroma of fried garlic and ghee.
Why the immediate pour matters: The tempering captures volatile aromatic compounds in hot ghee. Pouring while still sizzling preserves these compounds in the dal. Cooled tempering loses much of its aroma.
Fold in the tempering: Stir the tempering through the dal gently. The dal will turn from yellow to a richer golden colour with visible flecks of garlic and chilli throughout.
The critical lemon timing: Squeeze in the juice of half a fresh lemon — about 1 tbsp. Adding lemon off-heat keeps the bright fresh aroma; adding to hot dal turns it bitter.
Fold in the lemon: Stir gently to distribute the lemon throughout.
Taste and adjust: Dip a clean spoon and taste. The dal should hit you with multiple flavours — earthy lentils, warm cumin, deeply golden garlic, sharp chilli, savoury hing, bright fresh lemon, ghee richness. Adjust salt to your liking — usually no more is needed.
Garnish and serve: Sprinkle 2 tbsp finely chopped fresh coriander over the top.
Serve with rice and ghee: The traditional Bihari pairing is plain steamed rice with an additional dollop of warm ghee at the table. Each diner mixes a generous spoon of dal into their rice with a small drizzle of extra ghee. The combination of warm rice, dal, and ghee is the most fundamental and beloved Bihari meal.
For a substantial meal: Pair with a vegetable side (aloo, sabzi, chokha) and a piece of pickle. Add a small bowl of yogurt for cooling contrast. The complete plate represents Bihari home cooking at its most basic and most fundamental.
For a quick lunch: Serve over rice with a small portion of pickle — the simplest possible meal that still satisfies completely.
A cultural note: The Bihari tadka technique (ghee + cumin + sliced garlic + dried chillies + hing, in that specific sequence) is one of the great cooking sequences of Indian cuisine. Master this technique and you have the foundation for many Bihari and North Indian dishes. The same tadka, with small variations, transforms many other dals — moong, masoor, chana — into delicious meals.
Leftover storage: Stored in the fridge in an airtight container, this dal keeps for 3-4 days and tastes even better the next day. The dal thickens overnight; thin with water before reheating. Reheat gently on the stovetop with a splash of water — never microwave at high power, which can curdle the texture.
⭐ Featured
Creamy tomato-based curry with soft paneer cubes — the all-time favourite of Indian...
 ⭐ Featured
Velvety spinach curry with golden-fried paneer — nutritious, vibrant and absolutely delicious.

Bold, tangy chickpea curry packed with spices — a street food staple that works as a main dish.

Dry-spiced potatoes and cauliflower — simple, aromatic, and endlessly satisfying.
Comments & Tips
Be the first to share your experience with this recipe!
Leave a Comment