 ⭐ Featured
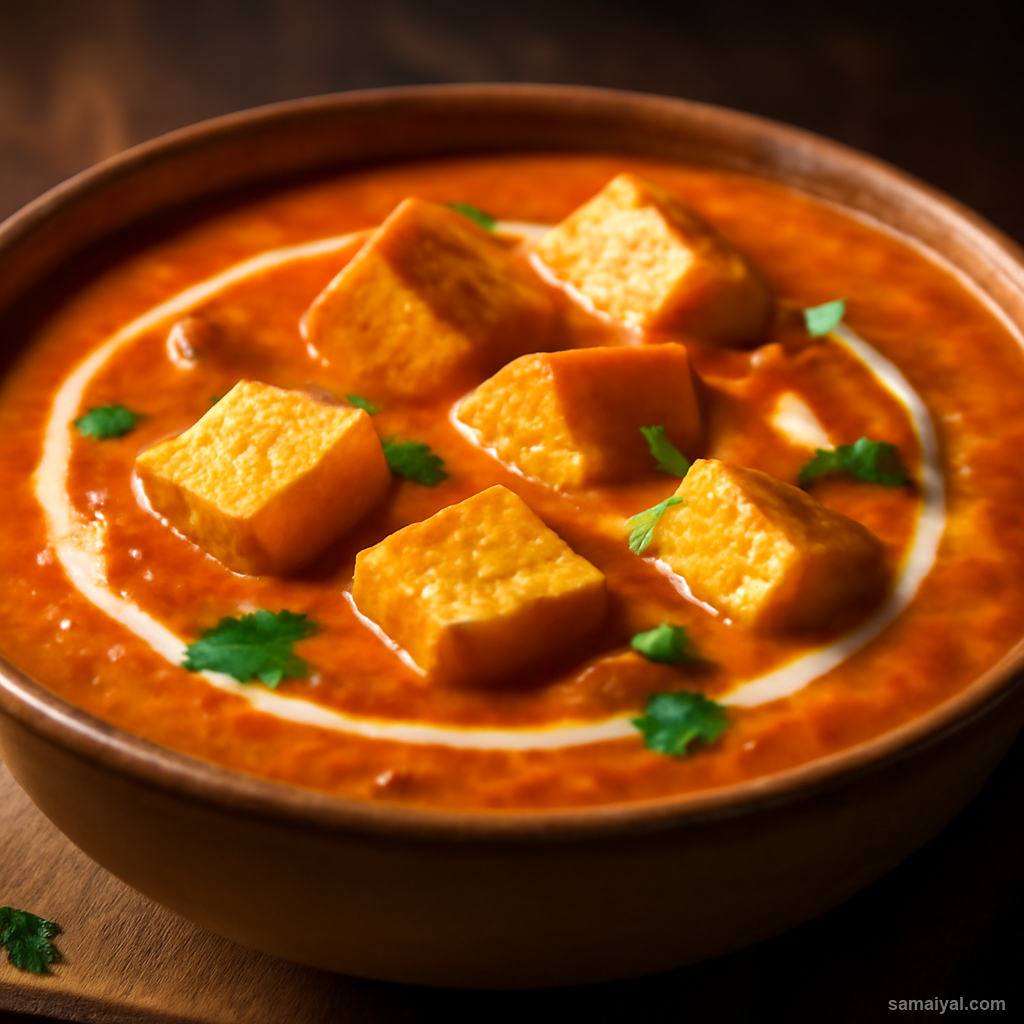
Butter Paneer Masala
Creamy tomato-based curry with soft paneer cubes — the all-time favourite of Indian...
Sour tamarind and greens dal — the everyday Assamese tangy lentil curry
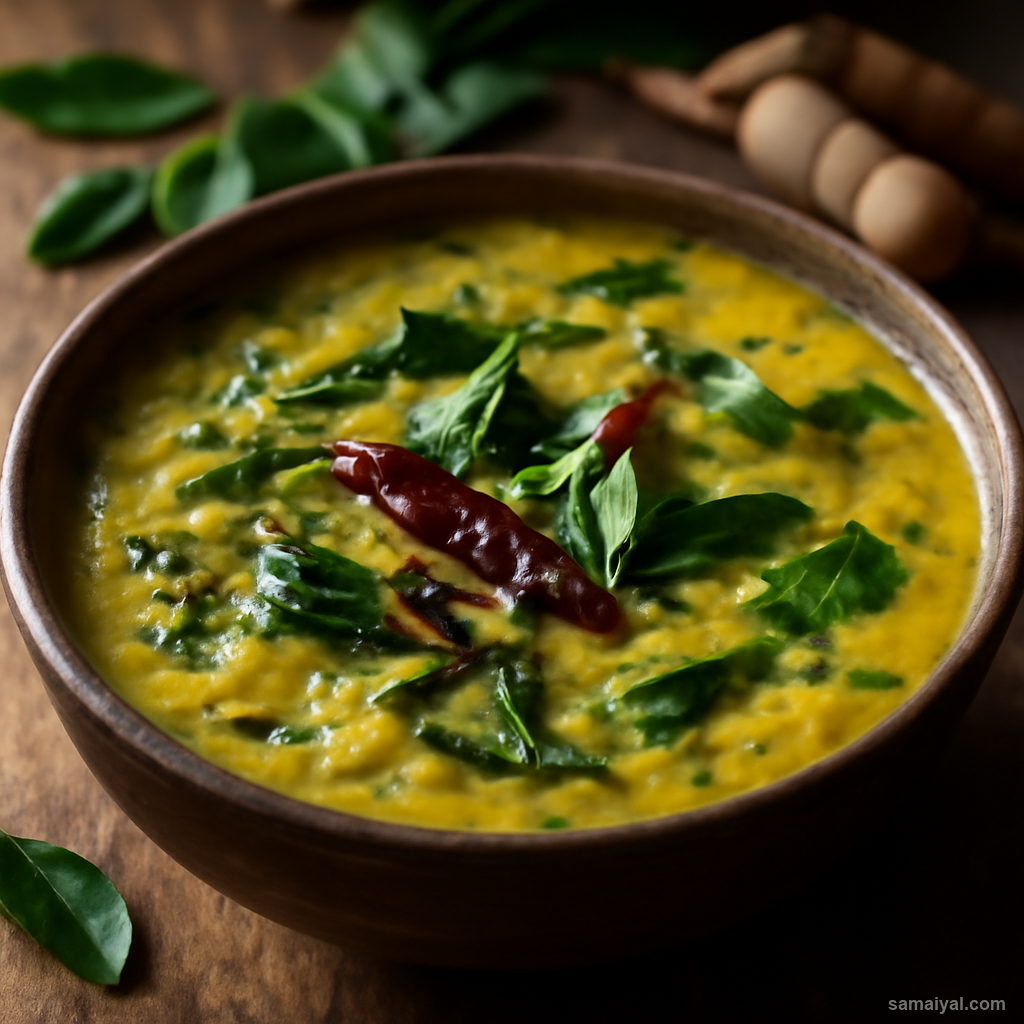
About Khat Khatiya: Khat Khatiya is the everyday tangy dal of Assam — toor dal cooked with tamarind for sourness and finished with seasonal greens. It is lighter and tangier than most North Indian dals and pairs perfectly with steamed rice in the humid Brahmaputra valley climate.
Wash and soak the dal: Take 1 cup toor dal (split pigeon peas — the most common yellow lentils sold at any Indian grocer). Wash in 4-5 changes of cold water until the water runs almost clear. Soak for 20 minutes — this reduces cooking time and makes the dal more digestible.
Prepare the tamarind paste: If using whole tamarind, take a small lemon-sized ball and soak in 1/4 cup warm water for 15 minutes. Squeeze with your fingers to release the pulp. Strain through a sieve, pressing firmly to extract every drop. Discard the seeds and fibres. If using ready-made tamarind paste, take 1 tbsp.
Clean the greens: Take 2 cups of any tender mixed greens — spinach, amaranth (chaulai), pumpkin leaves or moringa leaves all work. Wash thoroughly in 3 changes of cold water; greens often hide grit in their crevices. Roughly chop, including tender stems.
Pressure cook the dal: Drain the soaked dal and place in a pressure cooker with 3 cups water, 1 tsp turmeric, and 1/2 tsp salt. Add a few drops of oil to prevent frothing. Pressure cook on high heat until you hear 3 whistles, then reduce to low and cook for 5 more minutes. If using a regular pot, simmer 35-40 minutes until completely soft.
Mash to creamy consistency: Once the pressure releases naturally, open the cooker. The dal should be soft enough to crush against the side with light pressure. Whisk briefly with a wire whisk or hand-mash to break up the lentils — keep it slightly textured, not fully puréed.
Prepare the onion: Take 1 medium onion. Finely chop into small dice.
Heat the mustard oil: Pour 1 tbsp mustard oil into a heavy-bottomed pan or kadhai over medium-high heat. Heat for about 30 seconds until it just begins to smoke and the harsh raw smell mellows. This step removes the bitterness from raw mustard oil.
Fry the onion: Reduce heat to medium. Add the chopped onion and fry for 5-6 minutes, stirring often, until soft and just turning golden at the edges. Do not let it brown too deeply.
Add the greens: Tip the chopped greens into the pan. Stir well to coat with the oil and cook for 3 minutes, stirring occasionally. The greens will wilt down dramatically and turn bright green.
Combine with the dal: Pour the mashed dal into the pan with the greens. Stir to combine. If the dal is very thick, add 1/2 cup hot water to loosen — Khat Khatiya should have a soup-like consistency.
Add tamarind and simmer: Add the tamarind paste or strained tamarind water. Stir well. Bring to a gentle simmer and cook uncovered for 8 minutes. The tamarind transforms the colour to a slightly browner shade and the dal develops its signature tang.
Final seasoning: Taste and adjust salt — the tamarind sometimes intensifies the salt perception, so add carefully. Some Assamese cooks add a small pinch of sugar to round off the tang; this is optional and a personal preference.
Serve: Pour into bowls and serve hot over steamed rice with a drizzle of raw mustard oil on top. Khat Khatiya is best eaten the day it is made, while the greens are still bright and the tamarind tang is fresh.
⭐ Featured
Creamy tomato-based curry with soft paneer cubes — the all-time favourite of Indian...
 ⭐ Featured
Velvety spinach curry with golden-fried paneer — nutritious, vibrant and absolutely delicious.

Bold, tangy chickpea curry packed with spices — a street food staple that works as a main dish.

Dry-spiced potatoes and cauliflower — simple, aromatic, and endlessly satisfying.
Comments & Tips
Be the first to share your experience with this recipe!
Leave a Comment