 ⭐ Featured
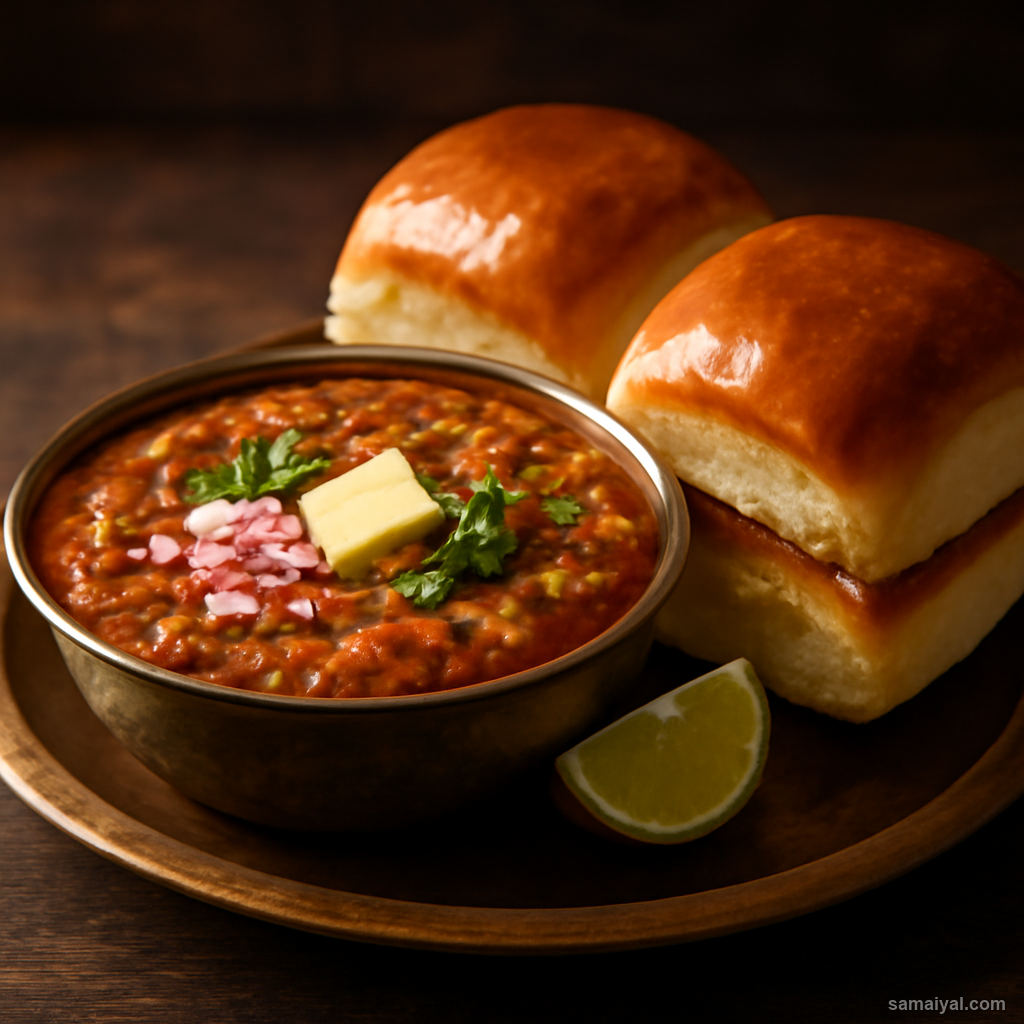
Pav Bhaji
Mumbai's beloved mashed vegetable curry served on butter-toasted soft buns — street food gold.
Spiced flattened rice with nuts and curry leaves — the Bihari Diwali snack mix

About Bihari Chivda: Chivda is the Bihari Diwali snack mix — crispy poha flakes with peanuts, cashews, curry leaves and warming spices. Made in large batches and gifted to neighbours, friends and relatives, it is a quintessential festival snack that keeps for weeks in airtight tins. The Bihari version specifically includes a touch of sugar that balances the chilli and turmeric beautifully.
Choose thick poha: Use 3 cups of thick poha (flattened rice). The flakes should be substantially thicker than the kind used for poha breakfast — about 1mm thick versus 0.5mm. Thin poha will turn soggy and crumble; thick poha stays crispy after frying.
Check poha quality: The flakes should be light cream colour, with a clean rice smell. Old poha smells stale and produces musty chivda. Pick over for any small stones or debris.
The critical first roasting: This is the step that makes or breaks chivda. Heat a wide heavy pan or kadhai over medium heat. Once warm but not smoking, add the poha. Roast on medium-low heat, stirring continuously with a flat spatula, for 8-10 minutes.
Watch the colour and texture: At 5 minutes the poha will start feeling drier and slightly crisper. At 8 minutes the flakes will be visibly drier, lighter in weight when tossed, and crackly when stirred. They should not change colour much; they should still be cream-coloured, just clearly crisper.
Test doneness: Lift a few flakes out and let cool for 30 seconds. Bite — they should crunch loudly and feel completely crisp. If still chewy, roast 1-2 minutes more. Tip the roasted poha onto a wide plate or tray. Set aside while you prepare everything else.
Prepare the peanuts: Use 1/2 cup raw peanuts. Pick over for any shrivelled or discoloured ones. Pat dry to remove any surface moisture.
Prepare the cashews: Use 2 tbsp whole cashews. Halve them lengthwise — halved cashews look more elegant in the chivda and cook through more evenly.
Prepare the curry leaves: Take 10-12 fresh curry leaves. Wash and pat completely dry — wet curry leaves splatter dangerously in hot oil. Pull from the stems.
Heat the oil: Pour 2 tbsp neutral cooking oil into the same wide pan over medium heat. Heat for 30 seconds until shimmering.
Fry the peanuts first: Add the peanuts. They take longest. Stir constantly for 2-3 minutes until the skins darken and the peanuts smell deeply nutty. Be vigilant — peanuts go from raw to perfect to burnt in 30 seconds. Lift out with a slotted spoon and add to the roasted poha.
Fry the cashews: To the same oil add the halved cashews. Fry for 30-45 seconds, stirring constantly, until light golden. Lift out and add to the poha.
Fry the curry leaves: Carefully add the curry leaves to the oil — they will splutter aggressively. Fry for 30 seconds until they turn dark and crisp. Lift out with a slotted spoon and add to the poha.
Pop the mustard seeds: Add 1 tsp mustard seeds to the same oil. They will pop and jump within 5-10 seconds. Have a splatter screen or pan lid handy. Wait until the popping slows down.
Add dry spices: Reduce heat to low. Sprinkle in 1/2 tsp turmeric powder, 1/2 tsp red chilli powder and 1 tsp sugar. Stir for 5-10 seconds — turmeric burns very fast, so move on quickly. The sugar will start melting into the oil.
Combine everything: Tip the entire roasted poha mixture (with the fried peanuts, cashews, curry leaves) back into the spiced oil pan. Toss vigorously with a flat spatula for 1 minute, lifting from the bottom and folding over the top, until everything is evenly coated with the spiced oil and looks a uniform pale golden-yellow.
Add salt: Sprinkle salt to taste — about 1 tsp for this quantity. Toss for 30 more seconds.
Taste and adjust: Lift a few pieces out and let cool for 10 seconds, then taste. The chivda should taste crisp, gently sweet-spicy, and properly salted. Adjust by sprinkling more salt or chilli powder and tossing.
Cool completely: Tip the entire mixture onto a wide tray or two flat plates. Spread out into a single layer to cool fast. They crisp up further as they cool. Cool for at least 30 minutes — warm chivda packed into a tin condenses moisture and turns soggy.
Store properly: Once fully cool and crisp, transfer to an airtight glass jar or tin. Stored at room temperature in a dry place, Bihari chivda keeps for up to 3 weeks. Avoid the fridge — humidity makes it soft. If it does soften, refresh by re-roasting in a dry pan for 2-3 minutes on low heat.
⭐ Featured
Mumbai's beloved mashed vegetable curry served on butter-toasted soft buns — street food gold.

Fluffy steamed chickpea flour cake from Gujarat — light, spongy, tangy and totally addictive.

Mumbai's vegetarian burger — spiced potato dumpling in a fried batter, served in a...
 ⭐ Featured
Crispy golden pastry filled with spiced potatoes and peas — India's most loved snack,...
Comments & Tips
Be the first to share your experience with this recipe!
Leave a Comment