 ⭐ Featured
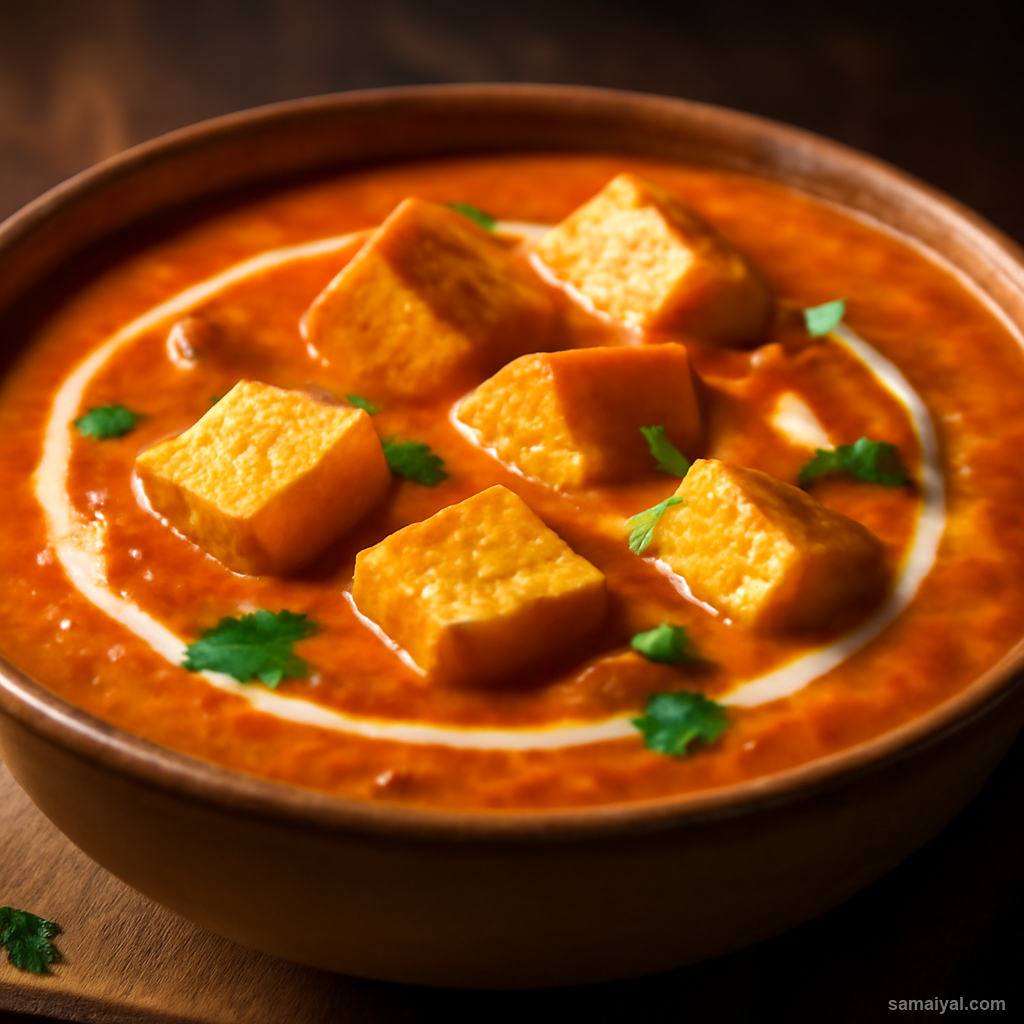
Butter Paneer Masala
Creamy tomato-based curry with soft paneer cubes — the all-time favourite of Indian...
Whole black gram cooked in mustard oil — the protein backbone of Assamese meals
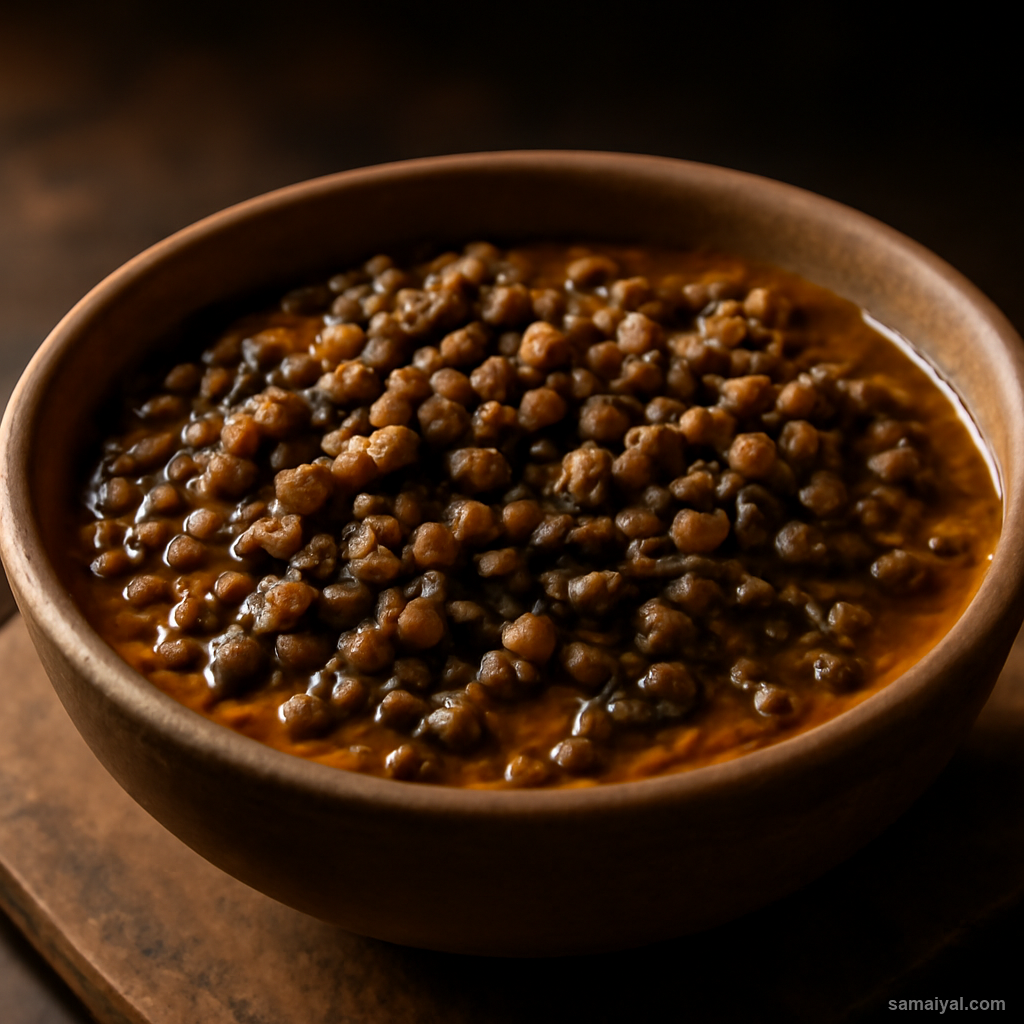
About Mati Dail: Mati Dail (literally "earthen dal") is whole black gram (urad) cooked long and slow — the protein backbone of Assamese non-meat cooking. The earthy depth of urad dal develops through hours of gentle simmering, producing a dish that is rustic, nourishing, and deeply flavoured. Unlike the Punjabi dal makhani which uses cream and butter, the Assamese mati dail is leaner — relying on mustard oil and the natural creaminess of the slow-cooked beans.
Understand whole black urad: Use 1 cup of whole black urad dal — not split, not skinned. The dal looks like small black beans with a slight bluish-purple tint. It is sold at every Indian grocer; you may also see it labelled as ma dal, sabut urad, or urad sabut.
Check and pick over: Spread the dal on a flat plate and pick over for any small stones or shrivelled beans.
Wash thoroughly: Place the dal in a wide bowl. Rinse in 4-5 changes of cold water until the water runs clear.
The critical overnight soak: Black urad takes much longer to cook than other dals. Cover with plenty of cold water and soak for 8 hours or overnight. Discard the soaking water — it contains compounds that cause digestive discomfort.
Rinse one more time: Drain and rinse once more under cold water.
Prepare the onion: Take 1 medium onion. Peel and finely chop into 5mm dice.
Prepare the garlic: Take 3 garlic cloves. Crush, peel and mince finely.
Prepare the ginger: Take a 1-inch piece of fresh ginger. Peel and grate to get 1 tsp.
Pressure cook the dal: Place the soaked drained dal in a pressure cooker with 4 cups water, 1 tsp turmeric powder and 1 tsp salt. Add 1/2 tsp oil to prevent foaming. Cook on high heat until you hear 5 whistles (about 12 minutes), then reduce to low heat and cook for 8 more minutes.
If no pressure cooker: Place soaked dal in a heavy pot with 5 cups water, turmeric, salt and oil. Bring to a boil, reduce heat to low. Simmer covered for 90-120 minutes, topping up water as needed.
Let pressure release naturally: Switch off the heat and let the pressure release on its own — about 15 minutes.
Check doneness: Open the cooker. The beans should be fully soft — easily crushed between thumb and finger. If still hard, cook for another 2 whistles.
Mash partially for body: Use the back of a wooden spoon to lightly mash about a quarter of the beans against the sides of the cooker. Leave most beans whole. This rustic body is essential.
Keep warm while preparing tempering: Keep the dal pot on lowest heat while you prepare the tempering.
Prepare the chillies: Take 2 dried red chillies. Snap each in half. Tap out and discard most of the seeds for milder heat.
Heat the mustard oil correctly: Pour 1 tbsp mustard oil into a small pan or kadhai over medium-high heat. Heat for 30-45 seconds until just smoking, to remove the raw bitter edge.
Add dried red chillies first: Reduce heat to medium. Add the broken dried red chillies. They will sizzle and turn a darker red.
Add the onion: Add the chopped onion. Stir-fry for 5-6 minutes on medium heat, stirring constantly. The onion should turn deep golden brown.
Add the garlic: Add the minced garlic. Stir for 1 minute until golden. Do not let it go dark.
Add the ginger: Add the grated ginger. Stir for 30 seconds.
The critical pour-over moment: Switch off the heat under the tempering pan. Immediately pour the entire sizzling tempering — oil, chillies, onion, garlic and ginger — over the warm dal in the main pot. The dal will hiss dramatically.
Fold the tempering in: Stir the tempering through the dal gently.
Final simmer: Place the dal pot back on low heat. Simmer for 10 minutes, stirring every 2-3 minutes. The flavours will fully meld together and the dal will deepen in colour to a beautiful dark grey-brown with visible whole beans.
Check the consistency: The dal should be moderately thick — like a thick stew, with whole beans visible in a slightly creamy gravy. If too thick, stir in 1/2 cup hot water; if too thin, simmer 2-3 more minutes uncovered.
Final seasoning: Taste a spoonful. The dal should taste warmly earthy, deeply nutty from the slow cook, with a clear onion-garlic-chilli backbone. Adjust salt — usually no more is needed.
Garnish and serve: Switch off the heat. Sprinkle 2 tbsp finely chopped fresh coriander over the top. Serve hot over plain steamed rice — the most traditional Assamese pairing.
Serve with rice: Mati dail and rice is a complete protein meal — the amino acids in beans and rice complement each other perfectly. Add a piece of fish or a vegetable for a more elaborate meal.
A cultural note: Mati dail is the everyday vegetarian protein of Assam — eaten by Hindu families on fast days, by Buddhist monks in monasteries, and by anyone seeking a hearty meatless meal.
Leftover storage: Stored in the fridge in an airtight container, mati dail keeps for 3-4 days and tastes even better the next day. Reheat gently on the stovetop with a splash of water.
⭐ Featured
Creamy tomato-based curry with soft paneer cubes — the all-time favourite of Indian...
 ⭐ Featured
Velvety spinach curry with golden-fried paneer — nutritious, vibrant and absolutely delicious.

Bold, tangy chickpea curry packed with spices — a street food staple that works as a main dish.

Dry-spiced potatoes and cauliflower — simple, aromatic, and endlessly satisfying.
Comments & Tips
Be the first to share your experience with this recipe!
Leave a Comment