 ⭐ Featured
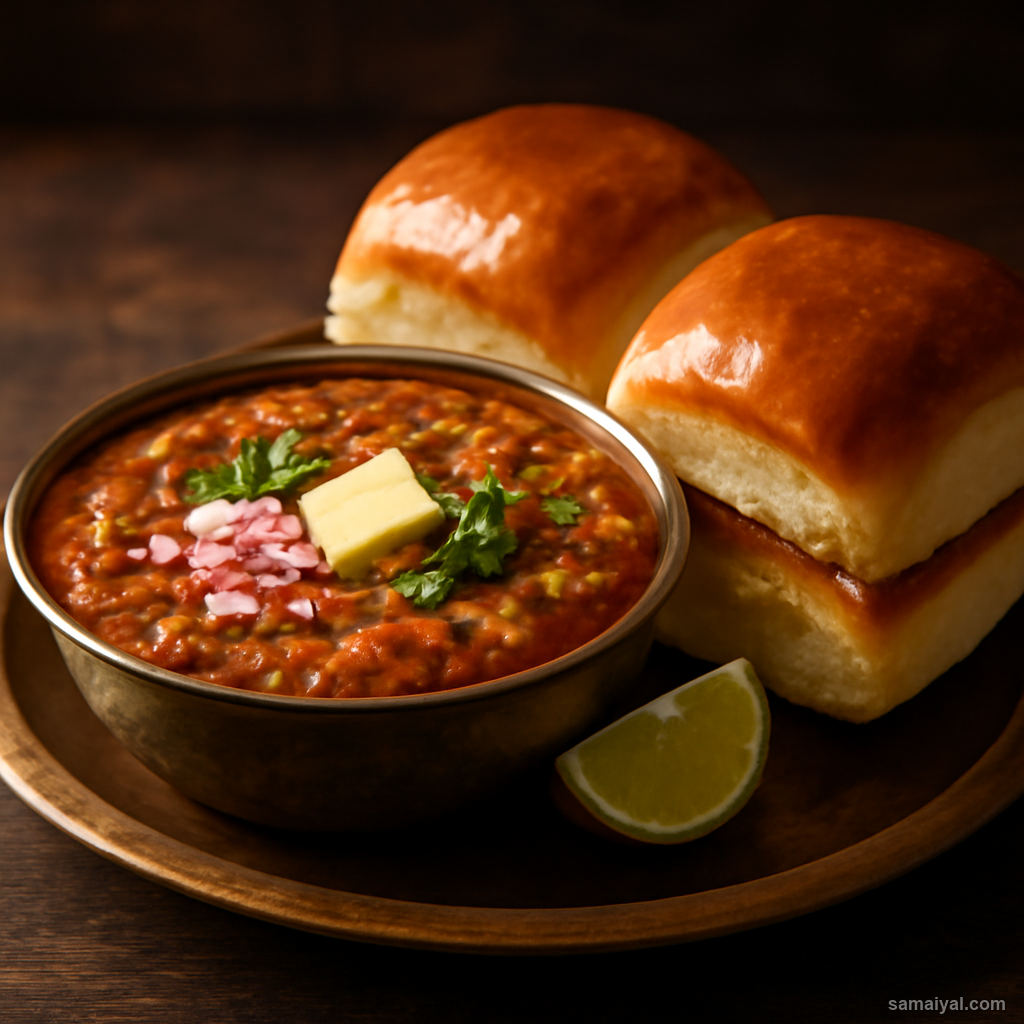
Pav Bhaji
Mumbai's beloved mashed vegetable curry served on butter-toasted soft buns — street food gold.
Pan-fried dal pittha — the crispy snack version of the steamed dumpling
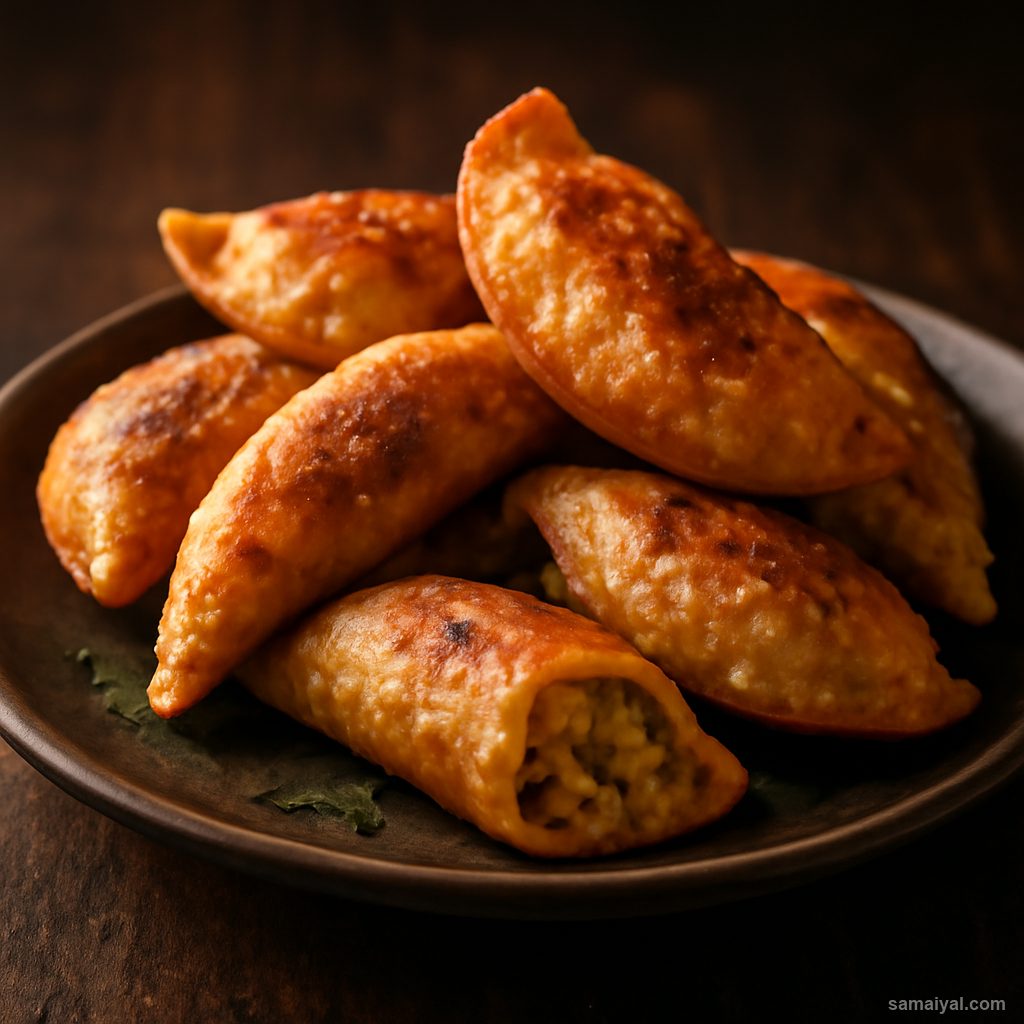
About Bihari Daal Pittha Fried: Pittha is the Bihari rice-flour dumpling — usually steamed, but the fried version is the snack-time treat. Crispy on the outside, soft inside, with a spiced chana dal filling. Fried Pittha is the festival food, the wedding starter and the welcome snack for guests. The technique takes practice but is straightforward once you understand the dough behaviour.
Make the filling first: This needs to cool before stuffing. Wash 1 cup of chana dal (split Bengal gram). Soak in plenty of cold water for 2 hours. Drain.
Pressure cook the dal: Place soaked chana dal in a pressure cooker with 2 cups water and 1/2 tsp salt. Cook on high heat for 3 whistles, then on low for 5 more minutes. The dal should be just tender but still hold shape. Drain in a sieve and let drip dry for 10 minutes.
Prepare the filling spices: Take 1 inch piece of fresh ginger. Peel and grate to get 1 tsp. Take 2 fresh green chillies. Finely chop. Take 2 tbsp fresh coriander, chop finely.
Mash and season the filling: Tip the drained dal into a wide bowl. Use a fork or potato masher to lightly mash about half of it; leave half whole for texture. Add the grated ginger, chopped green chillies, 1 tsp roasted cumin powder, 1/2 tsp red chilli powder, 1 tsp salt and the chopped coriander. Mix well. Cool to room temperature before using.
Divide the filling: Once cool, divide the filling into 12 equal portions. Roll each into a small ball. Set aside.
Make the rice flour dough: Use 2 cups of fine rice flour. Place in a wide heatproof bowl with 1/2 tsp salt.
Bring water to a rolling boil: Bring 1 cup of water to a full rolling boil in a small saucepan.
The critical dough technique: Pour the boiling water over the rice flour all at once. Mix immediately with a wooden spoon for 1-2 minutes until everything comes together as a hot, lumpy dough. Boiling water gelatinises the rice starch, which is what makes the dough pliable enough to seal around a filling.
Cool slightly: Cover the bowl with a plate or damp cloth. Let cool for 5 minutes — long enough to handle without burning.
Knead while warm: Tip onto a clean work surface. Knead for 4-5 minutes with the heel of your palm. The dough should turn into a smooth, soft, slightly tacky ball. If cracking, sprinkle 1 tsp warm water; if sticky, sprinkle 1 tsp rice flour.
Divide the dough: Pinch off lemon-sized portions — you should get 12 balls to match the filling balls. Keep covered with a damp cloth as you work; rice dough dries out fast.
Shape and stuff each pittha: Take one dough ball. Wet your fingers slightly. Flatten and shape into a 8cm circle by pressing between your wet palms — do not roll with a pin, rice dough cracks under a rolling pin. The circle should be slightly thicker in the centre and thinner at the edges.
Fill and seal: Place one filling ball in the centre of the dough circle. Fold the dough over the filling like a half-moon (samosa-style), pressing the edges together firmly with your wet fingers to seal. The pittha should look like a small puffed half-moon dumpling. Press the edges hard so no filling leaks during frying. Crimp with a fork if you like.
Check for any cracks: If you see cracks in the dough, pinch closed with wet fingers. Cracked pittha will burst in the hot oil and the filling will scatter. Set the shaped pittha on a tray, covered with a damp cloth.
Heat the oil correctly: Pour mustard oil into a deep heavy pan to a depth of at least 5cm. Heat for 2-3 minutes on medium-high until smoking, to remove the raw mustard sharpness. Reduce to medium heat. Test temperature with a small piece of dough — it should sink, then rise within 5-7 seconds with steady bubbles. Too hot and the outside burns before the inside cooks; too cool and the pittha soaks oil.
Fry in batches: Carefully slide 4-5 pittha at a time into the oil — do not crowd the pan or the temperature drops. Fry on medium heat for 3-4 minutes per side, turning gently with a slotted spoon, until both sides are deep golden brown and crispy.
Drain on wire rack: Lift out with a slotted spoon and drain on a wire rack rather than paper towels — the wire rack lets air circulate and keeps every side crispy.
Serve immediately: Fried Pittha tastes best within 10 minutes of frying, while still hot and crispy. Serve with green coriander chutney (recipe id 1359) and sweet tamarind chutney (recipe id 1358) for dipping. Pair with a hot cup of tea for a perfect Bihari festival snack. Leftover pittha can be reheated in a 180C oven for 5 minutes to restore some of the crispness.
⭐ Featured
Mumbai's beloved mashed vegetable curry served on butter-toasted soft buns — street food gold.

Fluffy steamed chickpea flour cake from Gujarat — light, spongy, tangy and totally addictive.

Mumbai's vegetarian burger — spiced potato dumpling in a fried batter, served in a...
 ⭐ Featured
Crispy golden pastry filled with spiced potatoes and peas — India's most loved snack,...
Comments & Tips
Be the first to share your experience with this recipe!
Leave a Comment