 ⭐ Featured
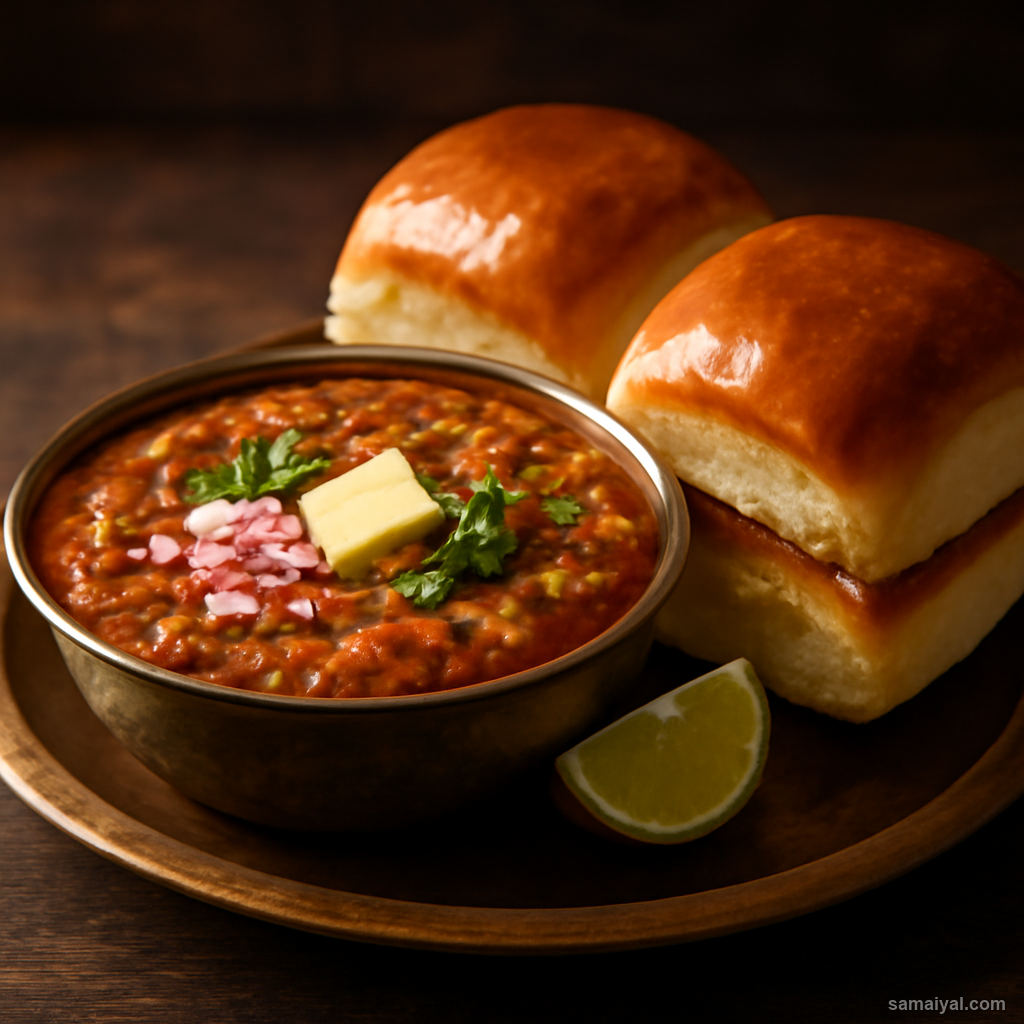
Pav Bhaji
Mumbai's beloved mashed vegetable curry served on butter-toasted soft buns — street food gold.
Fermented and dried colocasia leaf cakes — used as a powerful umami flavouring in Arunachali cooking

About Anishi Colocasia Cake: Anishi is preservation-as-ingredient — fermented colocasia leaves dried into hard cakes that serve as a powerful umami flavouring. Across Naga and Arunachali tribal communities, anishi is one of the most distinctive traditional flavour bases — a single small piece crumbled into soup or stir-fry transforms ordinary vegetables. NOT eaten by itself — it is a flavouring ingredient.
The critical food safety warning: Colocasia (taro) leaves contain calcium oxalate crystals that cause severe itching of skin and mouth when raw. The blanching step is essential — never skip it. WEAR GLOVES throughout the preparation. The crystals can cause hours of skin itching even after washing.
Gather ingredients: 10 large colocasia leaves (young and tender — large mature leaves are more fibrous; available at South Indian and Bengali groceries, Asian markets, or grow your own), 2 tsp salt for seasoning, 1 tsp salt for blanching water, 10-12 fresh banana leaves for wrapping. If colocasia leaves unavailable, this dish requires the specific ingredient — no substitute produces the same character.
Wash and blanch: Place the leaves in cold water and gently swirl to dislodge soil. Rinse multiple times until water runs clear. Bring a large pot of water to a rolling boil. Add 1 tsp salt. Add the cleaned leaves and boil hard for 5 minutes. The boiling water and salt extract the calcium oxalate compounds — without proper blanching, the resulting anishi will cause severe mouth and throat irritation.
Drain, squeeze, mash, shape: Drain the blanched leaves through a colander. CRITICAL: discard the cooking water (it carries dissolved oxalate compounds). Cool slightly and drain 5 minutes. Wrap blanched leaves in a clean cloth and squeeze HARD to remove as much water as possible — excess water slows fermentation and can cause spoilage. Place squeezed leaves on a chopping board. Use a sharp knife to chop coarsely, then use the back of the knife to mash into coarse paste with visible leaf fragments (not pureed). Add 2 tsp salt — essential both for flavour and for fermentation safety. Take 80-100g portions and shape into flat round cakes about 8cm wide and 1cm thick.
Wrap in banana leaves: Pass each banana leaf briefly over a low gas flame for 5-10 seconds — leaves turn slightly glossy and become noticeably more pliable. Wipe with a damp cloth before use; do not wash with water. Place each shaped colocasia cake on the centre of a banana leaf. Fold the leaf over the cake, completely enclosing it. Tie with kitchen twine if needed.
Ferment 2-3 days: Place wrapped cakes in a warm place — ideally around 25-30°C. Traditional Northeast Indian kitchens place them near the cooking hearth. If your kitchen is cool, use a sealed insulated cooler with a hot water bottle, or place in a switched-off oven with the light on. Naturally occurring bacteria multiply, breaking down leaf proteins to release amino acids that produce the umami-savoury flavour.
Fermentation signs and spoilage: After 2-3 days, cakes will have developed a distinctive earthy-fermented aroma when banana leaves are opened. Colour may have slightly darkened. IMPORTANT spoilage signs: if fermentation produces black mold, foul rotten smell (different from earthy fermented smell), or visible bad coating, discard. Properly fermenting cakes should always smell distinctive but not putrid.
Sun-dry the cakes: After fermentation, unwrap from banana leaves. Place on a clean rack or screen in direct sunlight. Sunny, dry, warm conditions are essential — humid weather slows drying and risks spoilage. Dry for 3-5 days, depending on weather. Turn once each day for even drying. Bring inside if rain threatens. Without sun, use a low oven (60°C) for 6-8 hours.
Doneness check: A fully dried anishi cake feels rock-hard, weighs significantly less than fresh, and produces a sharp clack when knocked together. Looks slightly darker than when fresh. If still soft, continue drying — soft cakes can develop mold during storage.
Storage: Once fully dried, place anishi cakes in an airtight container in a cool dry place. They keep for 6-12 months — genuinely a long-term preserved ingredient. Always use a clean knife to cut portions to prevent contamination.
Using anishi: Intensely concentrated — use small amounts (1/2 to 1 tablespoon crumbled per dish for 4 servings). In soups, crumble a small piece into the base for remarkable depth. In vegetable curries, add crumbled anishi during cooking — particularly with simple vegetable preparations like dal or stir-fries. In meat dishes, crumbled anishi added to pork, chicken, or fish curries provides remarkable depth (use with fatty meats — the umami balances richness). In fried rice, a small piece crumbled provides instant flavour transformation.
The Naga way: Naga cooks rub a small piece against meat or vegetables before cooking — surface contact infuses flavour. The first time using, start with very small amounts (1/2 tsp) — the flavour is so concentrated that excess produces overwhelming character.
For those new to anishi: Start by using small amounts in cooked dishes. The flavour is intense but rewarding. Many people who initially find it strange come to value it as a unique culinary tool.
A cultural and nutritional note: The anishi tradition reflects centuries of Northeast Indian food preservation wisdom. As modern refrigeration and instant umami sources have become available, traditional anishi making has declined. Cooks who maintain the tradition are increasingly valuable cultural keepers. Fermented colocasia leaves provide complex amino acids, beneficial probiotic compounds, and concentrated minerals. The fermentation makes the nutrition more bioavailable than fresh leaves.
Leftover storage: Properly dried and stored anishi keeps for 6-12 months in airtight containers in a cool dry place. The flavour does not noticeably degrade — anishi is genuinely shelf-stable.
⭐ Featured
Mumbai's beloved mashed vegetable curry served on butter-toasted soft buns — street food gold.

Fluffy steamed chickpea flour cake from Gujarat — light, spongy, tangy and totally addictive.

Mumbai's vegetarian burger — spiced potato dumpling in a fried batter, served in a...
 ⭐ Featured
Crispy golden pastry filled with spiced potatoes and peas — India's most loved snack,...
Comments & Tips
Be the first to share your experience with this recipe!
Leave a Comment