 ⭐ Featured
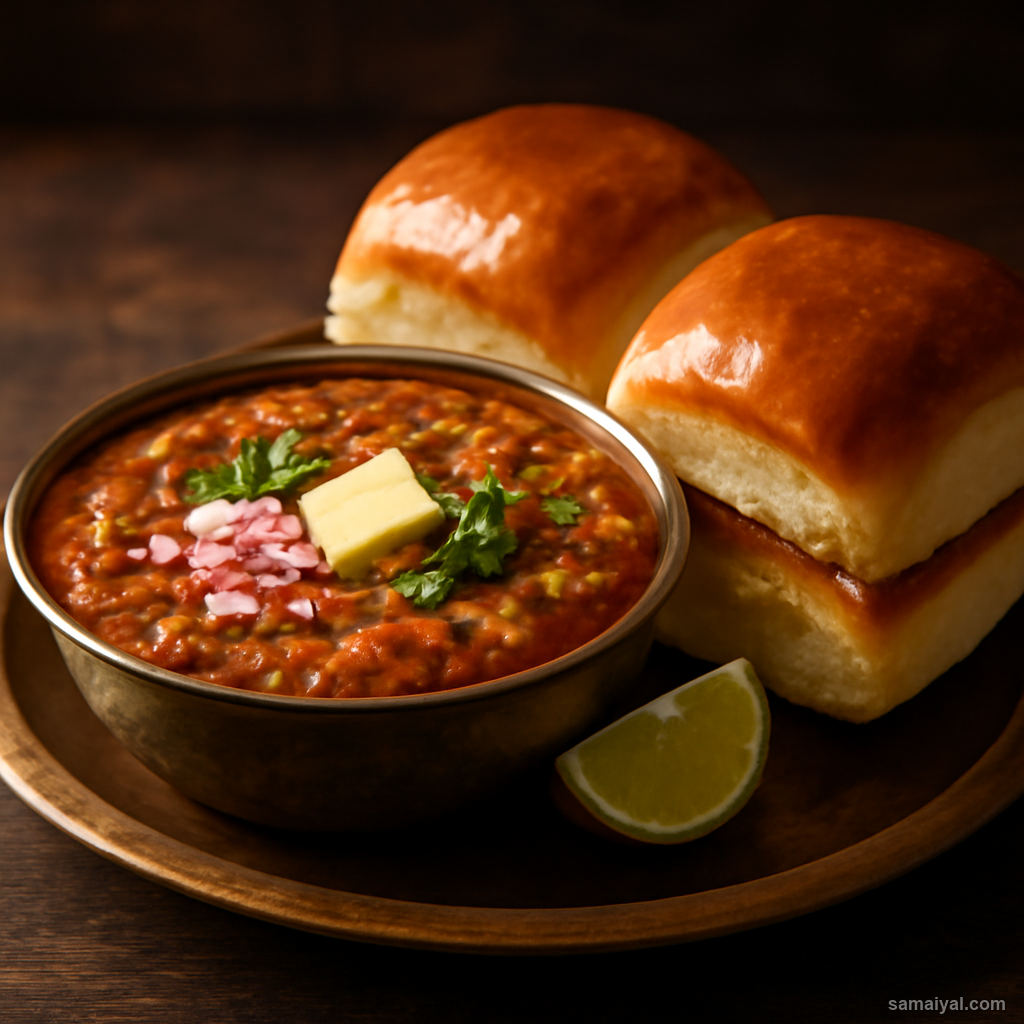
Pav Bhaji
Mumbai's beloved mashed vegetable curry served on butter-toasted soft buns — street food gold.
Pounded sesame and jaggery brittle — the iconic Gaya sweet and Makar Sankranti offering of Bihar

About Tilkut Sesame Brittle: Tilkut is the most famous sweet of Bihar — particularly from Gaya. Hand-pounded sesame and jaggery brittle, it is the iconic Makar Sankranti offering of Bihar (the mid-January harvest festival). Across the state, families exchange tilkut as gifts during Sankranti, and the famous tilkut shops of Gaya draw visitors from neighbouring states. The dish represents Bihar at its most traditional — simple ingredients, ancient technique, deeply meaningful festival significance.
Understand the simplicity: Just 3 ingredients — sesame, jaggery, and ghee. The technique is everything. Properly made tilkut is crisp, deep-flavoured, and breaks cleanly into shards; poorly made tilkut is sticky, chewy, and lacks the proper character.
Choose the right sesame: Use 2 cups of white sesame seeds. The seeds should be uniform, fresh, and smell faintly nutty. Old sesame smells slightly rancid; discard if so.
The critical sesame toasting: Heat a heavy dry pan over medium heat. Add the 2 cups of sesame seeds. Spread in a single layer.
Watch the sesame transform: Toast for 4-5 minutes, shaking the pan often. The sesame seeds will pop softly (like miniature popcorn), turn from cream-white to light golden, and release a deeply nutty aroma.
The doneness test: Toast until the sesame is uniformly light golden and the popping has slowed. Burnt sesame is bitter and ruins the entire batch — watch carefully and stop at light golden.
Let the sesame cool completely: Tip onto a wide plate or tray. Spread out and cool for 10-15 minutes. Hot sesame mixed with hot jaggery produces a sticky mess that does not set into proper brittle.
Understand the jaggery: Use 1 cup of grated jaggery. Use dark Bihari palm jaggery for the most authentic deep flavour. Grate fine on the small holes of a box grater so it dissolves evenly.
Understand the ghee: Use 1 tbsp ghee. The small amount of ghee plays multiple roles — it prevents sticking, adds richness, and helps the brittle release from surfaces.
Prepare a greased surface: Take a flat surface for setting the brittle — a marble slab, a clean kitchen counter, or a baking tray. Lightly grease with 1 tsp ghee.
Prepare a greased rolling pin or spatula: Have a rolling pin or wide flat spatula greased lightly. You will use this to flatten the brittle quickly.
Prepare a knife: Have a large knife greased lightly. You will use this to cut the brittle while still warm.
Understand the timing: Once the jaggery reaches the right stage, you have only 60-90 seconds to add sesame, transfer, flatten, and cut. Have everything ready BEFORE you start cooking the jaggery.
Use a heavy pan for the jaggery: Use a heavy-bottomed pan. Thin pans will scorch the jaggery on the bottom — burnt jaggery ruins the entire batch.
Melt the jaggery: Place the grated jaggery in the pan with 1 tablespoon of water. Place over low heat. Stir continuously with a wooden spoon for 3-4 minutes until fully dissolved into a smooth dark glossy syrup.
The critical temperature monitoring: Continue cooking on medium-low heat, stirring continuously, for another 3-4 minutes. The jaggery will deepen in colour and become more glossy.
The hard-crack stage test: This is the critical doneness signal. Drop a tiny drop of the syrup into a glass of cold water. It should harden IMMEDIATELY into a brittle, crackable thread. If the drop forms a soft pliable thread that bends, cook 30-60 more seconds. If the drop hardens immediately when touched, you are at hard-crack stage — the right moment for tilkut.
Why hard-crack stage matters: Soft-crack jaggery makes chewy brittle (closer to taffy); hard-crack jaggery makes crispy snappable brittle (proper tilkut). The window between these two stages is small — only 30-60 seconds of additional cooking.
The critical add-and-mix: As soon as the jaggery hits hard-crack, immediately add the cooled toasted sesame and the 1 tbsp ghee. Switch off the heat.
Mix vigorously: Stir thoroughly with the wooden spoon for 30 seconds, ensuring every sesame seed gets coated in the hot jaggery. The mixture will look glossy, dark amber, and uniform.
The critical fast transfer: Immediately tip the mixture onto the prepared greased surface. Use the greased spatula or rolling pin to flatten the mixture as quickly as possible into a 1-1.5cm thick layer.
Why speed matters: The jaggery starts setting within 60 seconds of removing from heat. If you flatten too slowly, the mixture hardens before you have shaped it.
Flatten evenly: Use the greased rolling pin or a piece of parchment paper between the rolling pin and the brittle to roll out evenly. The shape can be rectangular or any pattern you prefer.
The critical cutting timing: While the brittle is still slightly warm and pliable (1-2 minutes after transferring), use the greased knife to cut into pieces — typically 4cm squares or rectangles.
If you wait too long: The brittle will harden and become impossible to cut without shattering. Cut while still warm.
Let cool completely: Once cut, leave the brittle on the greased surface. Cool for 30-45 minutes until completely cool and hard. Try not to touch — the heat from your fingers can soften the surface.
Lift off the surface: Once fully cool, the brittle pieces should lift off the greased surface easily. If sticking, slide a knife under to release.
The doneness signs: Properly made tilkut is crisp, breaks cleanly with a snap, has visible sesame seeds throughout, and is a beautiful dark amber colour. The flavour should be deep, slightly bitter from the long-cooked jaggery, and intensely nutty.
Serve and store: Pile onto a plate for serving. Tilkut is meant to be eaten as small bite-size pieces with hands.
The Sankranti tradition: At Makar Sankranti (mid-January, the Bihar harvest festival), tilkut is exchanged as gifts between families. The greeting "tilkut khaiye, meetha boliye" — eat tilkut, speak sweetly — reflects the festival's message of warmth and reconciliation.
For festive gifting: Pack 6-8 pieces in small decorative boxes tied with ribbon. Give to neighbours, relatives, and friends during Sankranti.
The Gaya specialty: The town of Gaya in Bihar is the world capital of tilkut making. The famous Gaya tilkut shops have been producing this sweet for centuries. If you visit during Sankranti season, sampling tilkut from multiple shops is a great culinary tour.
A cultural note: Tilkut connects to Indian traditions of using sesame for warming the body in cold weather. The Sankranti festival marks the end of winter's coldest days; eating sesame-based foods is believed to provide warmth and energy. The wisdom of this seasonal eating pattern is now being validated by modern nutrition.
Leftover storage: Stored in an airtight container at room temperature, tilkut keeps for 2-3 weeks. Avoid humidity — moisture makes the brittle go soft and sticky. In humid climates, store with a small bag of silica gel inside the container.
⭐ Featured
Mumbai's beloved mashed vegetable curry served on butter-toasted soft buns — street food gold.

Fluffy steamed chickpea flour cake from Gujarat — light, spongy, tangy and totally addictive.

Mumbai's vegetarian burger — spiced potato dumpling in a fried batter, served in a...
 ⭐ Featured
Crispy golden pastry filled with spiced potatoes and peas — India's most loved snack,...
Comments & Tips
Be the first to share your experience with this recipe!
Leave a Comment