 ⭐ Featured
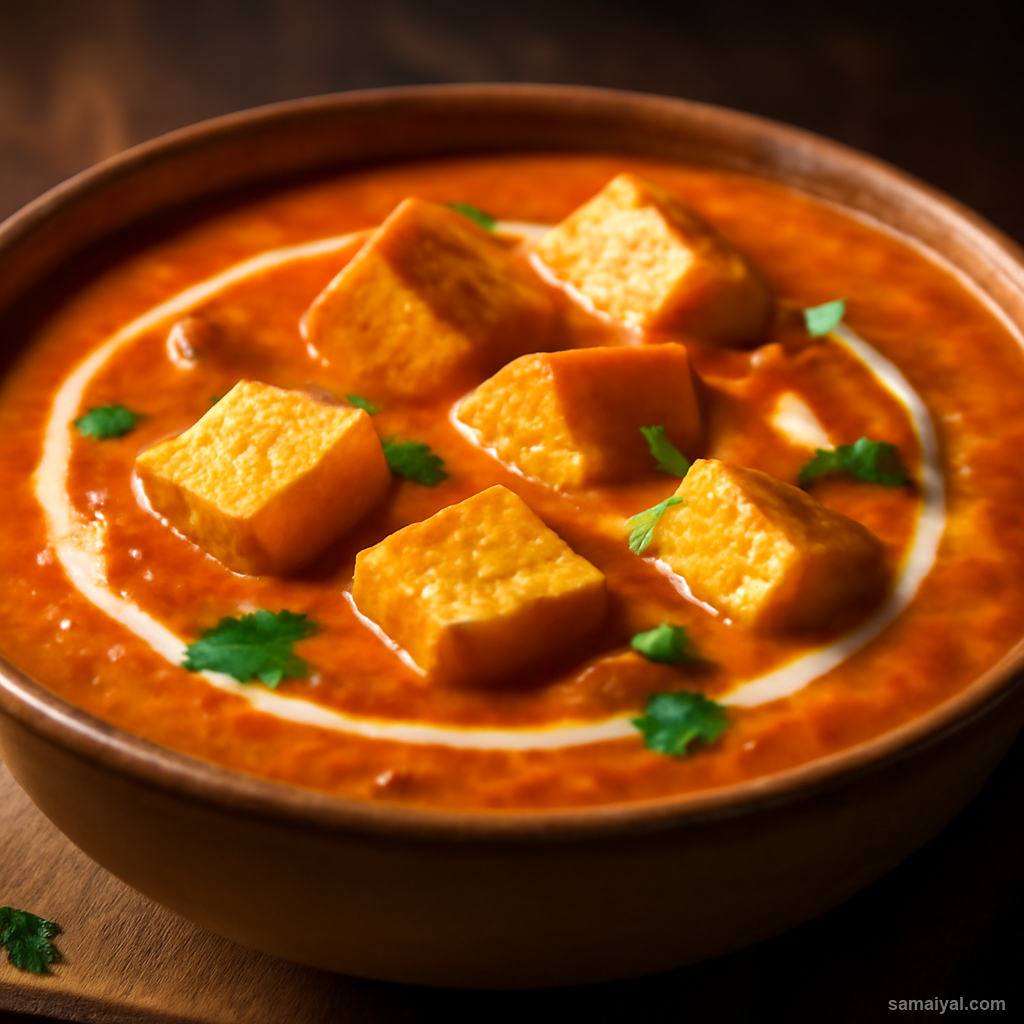
Butter Paneer Masala
Creamy tomato-based curry with soft paneer cubes — the all-time favourite of Indian...
Kerala-style thoran — dry stir-fry of taro root (chembu) with fresh coconut in coconut oil.
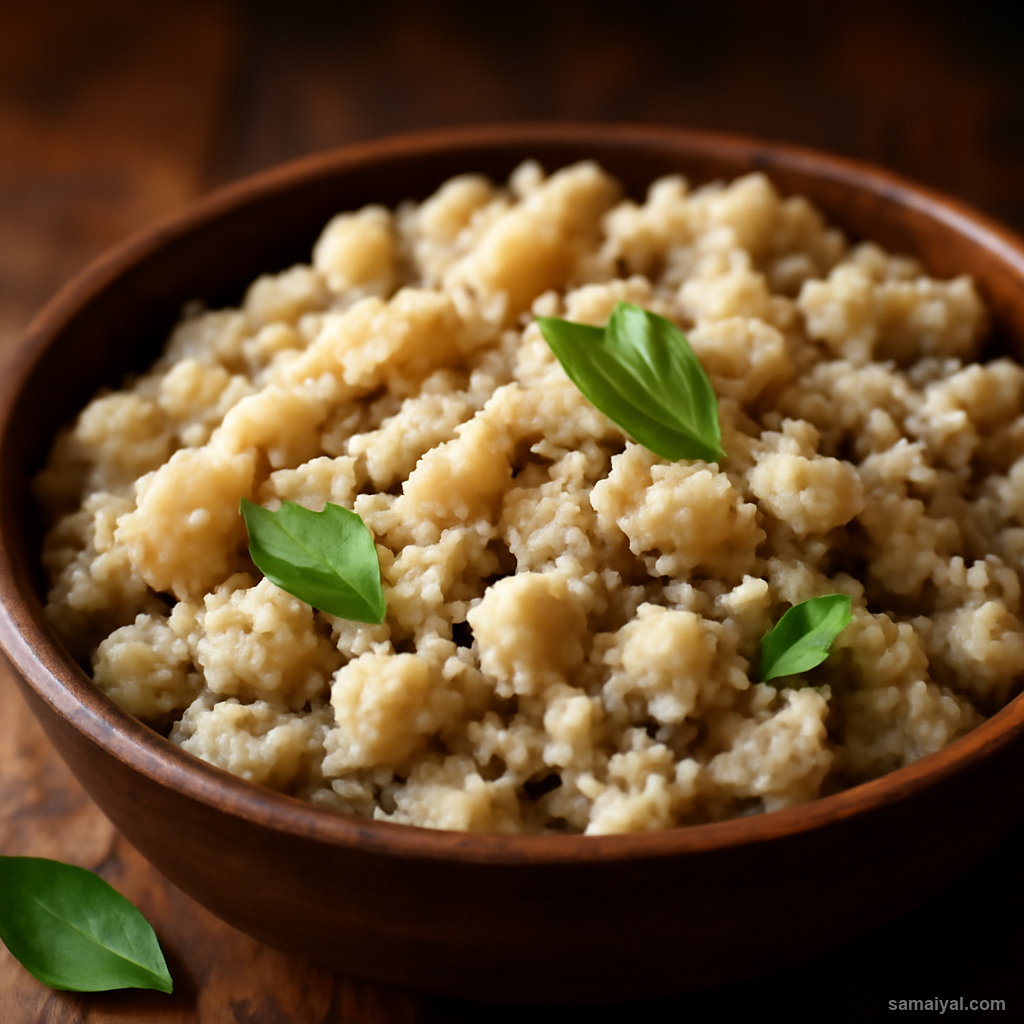
About Taro Thoran: Taro Thoran is the Kerala dry stir-fry of taro root (chembu) with fresh coconut and coconut oil. Taro is a tropical root vegetable widely cultivated in Kerala, providing satisfying starchy character that integrates beautifully with the foundational coconut-and-spice technique.
Follow the foundational thoran technique: See Beans Thoran (recipe id 578). Like yam, taro requires parboiling before the thoran step.
Gather ingredients: 300g taro root (called chembu in Malayalam, seppankizhangu in Tamil, arbi in Hindi), 1/2 cup fresh grated coconut, 2 tbsp coconut oil, 1 tsp mustard seeds, 2 dried red chillies, 1 sprig curry leaves, 2 finely chopped green chillies, 3 finely sliced shallots, 1/4 tsp turmeric (plus extra for parboil), 1 tsp cumin seeds, salt to taste.
The IMPORTANT itching warning and prep: Raw taro contains calcium oxalate crystals that cause severe itching of skin and mouth — even more pronounced than yam. WEAR GLOVES when handling raw taro. Rub hands with oil or lemon juice before cutting (prevents skin contact). Rinse under cold water, gently scrub to remove soil. Peel away rough hairy brown skin completely with a sharp knife — residual skin can cause itching. Cut into small thin slices (5mm thick) or 1cm cubes.
Rinse multiple times: Place cut taro in a wide bowl of cold water. Swirl. Drain. Repeat 2-3 times. Removes surface oxalate compounds and natural starches that can make thoran gummy.
The critical parboil: Place cut taro in a saucepan. Cover with water. Add 1/2 tsp turmeric (helps neutralise remaining oxalate crystals and adds golden colour) and 1 tsp salt. Bring to a boil. Reduce to medium. Boil 8-10 minutes until just tender — easily pierced but still holding shape. Drain through a sieve, discarding the parboiling water.
Make coconut mixture: In a wide bowl combine the grated coconut, turmeric, cumin seeds, chopped green chillies, and sliced shallots. Lightly pound or pulse briefly.
Combine: Add parboiled taro to the coconut mixture. Toss gently — taro is more delicate than yam and breaks more easily.
Tempering: Heat the coconut oil in a wide pan over medium-high heat. Add mustard seeds — wait for popping to slow.
Add remaining tempering: Add snapped dried red chillies and curry leaves. Stir for 5 seconds.
Add taro-coconut mixture: Stir gently to coat. Add additional salt — about 1/2 tsp.
Uncovered cooking: Cook on medium-high heat 4-5 minutes, tossing GENTLY every minute. Taro is delicate — over-aggressive stirring breaks pieces into mush. The taro should develop slightly crispy edges and the coconut should integrate.
The slightly crispy result: Properly cooked taro thoran has lightly browned edges where the taro contacts the hot pan — hallmark of good preparation.
Final taste: Should taste mild and satisfying — starchy taro with sweet coconut, gently warming spices, slight crisp edges.
Serve immediately: With rice and sambar. One of the satisfying elements of the Kerala sadya feast.
For digestive support: Taro is traditionally considered easy to digest — particularly recommended during illness recovery.
Variations: Add 1 finely sliced onion to the tempering. Or 1/4 cup green peas for colour contrast. For mixed-root thoran, combine taro with cubed potato (50g of each).
A nutritional note: Provides complex carbohydrates, fibre, vitamin E, vitamin C, magnesium, resistant starch (supports gut health).
Leftover storage: Fridge for 2 days. Refresh briefly in a hot dry pan. Best within 1-2 days of cooking.
⭐ Featured
Creamy tomato-based curry with soft paneer cubes — the all-time favourite of Indian...
 ⭐ Featured
Velvety spinach curry with golden-fried paneer — nutritious, vibrant and absolutely delicious.

Bold, tangy chickpea curry packed with spices — a street food staple that works as a main dish.

Dry-spiced potatoes and cauliflower — simple, aromatic, and endlessly satisfying.
Comments & Tips
Be the first to share your experience with this recipe!
Leave a Comment