 ⭐ Featured
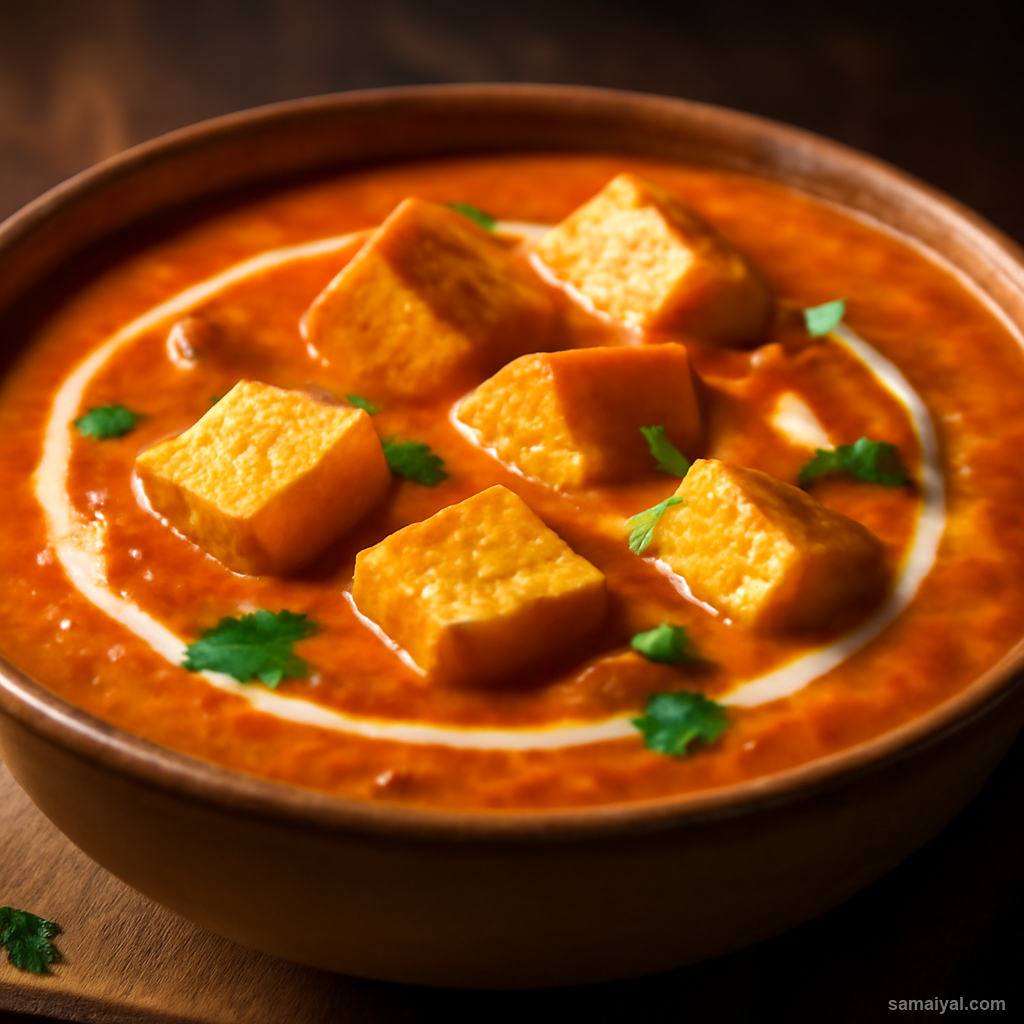
Butter Paneer Masala
Creamy tomato-based curry with soft paneer cubes — the all-time favourite of Indian...
Colocasia cooked with fermented soybean paste and chilli — earthy and protein-rich

About Taro Root Fermented Curry: Colocasia (taro root) cooked with fermented soybean paste is a daily combination across Nyishi and Adi territories of Arunachal Pradesh. The earthiness of taro pairs beautifully with the umami depth of fermented soybean — a combination unique to Northeast Indian highland cooking. The dish is protein-rich, deeply nourishing, and uses two ingredients that store well in cold mountain conditions.
Understand colocasia: Colocasia (arbi in Hindi, taro root in English) is a tropical tuber with rough brown skin and starchy white flesh inside. Available at Indian groceries, particularly those with Bengali, South Indian, or Northeast Indian sections.
The critical safety warning: Raw colocasia contains calcium oxalate crystals that cause severe itching of skin and mouth. Always handle with gloves when peeling, and never taste raw. Cooking destroys these compounds completely; properly cooked taro is safe.
Prepare with gloves: Wear disposable kitchen gloves throughout the peeling and cubing. The crystals can cause hours of skin itching even after washing.
Peel and cube the taro: Use 400g of colocasia. Use a sturdy vegetable peeler to remove all the rough brown skin. Cut into 2cm cubes. The flesh inside should look uniformly white-cream.
The critical first boil: This is non-negotiable for safety. Place the cubed taro in a saucepan. Cover with plenty of cold water. Add 1 tsp salt. Bring to a rolling boil over high heat.
Boil for 10 minutes: Once boiling, cook for 10 minutes. The boiling water and salt extract the calcium oxalate compounds and pre-cook the taro. The water will become slightly cloudy — this is normal and contains the dissolved oxalates.
Drain and discard cooking water: Drain the taro through a colander. Important — discard the cooking water. Do not save it for soup or anything else; it carries the dissolved compounds.
Let the taro drip dry: Leave in the colander for 2-3 minutes to release excess moisture. The taro should be half-cooked at this stage — tender at the edges but still firm in the centre.
Understand pehak: Pehak (also called kinema or akhuni) is the Northeast Indian fermented soybean paste. Sold at Northeast Indian groceries.
If pehak is unavailable: Use 2 tbsp Korean doenjang or Japanese miso paste as substitute. The flavour profile differs slightly but the dish works.
Measure carefully: Use 2 tbsp pehak — fermented soybean is intensely flavoured.
Prepare the onion: Take 1 medium onion. Peel and chop into fine 5mm dice.
Prepare the garlic: Take 3 garlic cloves. Crush, peel and mince finely.
Prepare the green chillies: Take 2 fresh green chillies. Slit lengthwise.
Use a wide pan: Use a wide kadhai or heavy frying pan.
Heat the oil: Pour 2 tbsp neutral cooking oil into the pan over medium-high heat. Heat for 30 seconds until shimmering. Mustard oil works as substitute for more pungent flavour.
Fry the onion: Reduce heat to medium. Add the chopped onion. Stir-fry for 3 minutes, stirring often, until soft and just turning golden at the edges.
Add the garlic: Add the minced garlic. Stir for 1 minute until fragrant.
The critical pehak step: Add the 2 tbsp pehak to the pan. Use a spatula to break it up as it hits the hot oil. Stir constantly for 2 minutes — the pehak will melt into the oil and release its powerful fermented aroma. The kitchen will fill with a deeply savoury smell. Do not let it burn.
Add turmeric: Sprinkle in 1 tsp turmeric powder. Stir for 30 seconds.
Add the par-cooked taro: Tip in the par-cooked drained taro cubes. Stir to coat every cube in the pehak masala. The cubes will turn a beautiful pale yellow-tan.
Add water and chillies: Pour in 2 cups of hot water. Add the slit green chillies. Stir well to combine. The water should partially cover the cubes.
The critical taste check before salt: This is essential — taste before adding any salt. Pehak is already significantly salty from fermentation. Take a clean spoon, taste the gravy, and only add salt if needed (often 1/4 tsp or none at all).
Cover and simmer: Reduce heat to medium-low. Cover the pan with a lid. Cook for 20 minutes, lifting the lid every 5 minutes for a gentle stir.
Check taro doneness: After 20 minutes, the taro should be completely tender — easily pierced with a fork. The cubes should still hold their shape but feel soft throughout. If still firm in the centre, simmer 3-5 more minutes.
The consistency check: The curry is meant to be moderately thick — like a thick stew with chunks of taro in a glossy gravy. If too thin, simmer uncovered for 2-3 minutes. If too thick, stir in 1/4 cup hot water.
Mash some taro for body: Use the back of a wooden spoon to lightly crush 4-5 taro cubes against the side of the pan. This naturally thickens the gravy and gives the dish texture variety.
Check for safety: Taste a small piece of the cooked taro. There should be no scratchy or itching sensation in your mouth — that would indicate undercooked oxalates. Properly cooked taro is completely safe and slightly sweet-earthy in flavour. If any scratching, simmer 5 more minutes.
Final flavour adjustment: Taste again. The dish should hit you with multiple flavours — earthy taro, deeply fermented umami pehak, gentle chilli warmth, aromatic garlic. Adjust by adding more chilli (for heat) or a tiny pinch of sugar (to balance saltiness from pehak).
Garnish: Switch off the heat. Sprinkle 2 tbsp finely chopped spring onions (white and green parts) over the top. Some Arunachali cooks also add 1 tbsp finely chopped fresh coriander.
Serve with rice: Serve hot ladled over plain steamed rice — the most traditional Arunachali pairing. The thick curry mixes into the rice, creating a complete one-bowl meal.
Serving as part of a meal: Pair with a piece of grilled meat or a clear soup. The earthy taro is filling enough to be the main vegetarian centerpiece.
A cultural note: Taro and fermented soybean are both ingredients that can be stored through long winter months in highland Arunachali villages — taro keeps for weeks in cool storage, pehak lasts for months. This dish represents the wisdom of preserving food through the long cold seasons when fresh produce is scarce.
Leftover storage: Stored in the fridge in an airtight container, this curry keeps for 3-4 days and improves overnight. Reheat gently on the stovetop with a splash of water if too thick.
⭐ Featured
Creamy tomato-based curry with soft paneer cubes — the all-time favourite of Indian...
 ⭐ Featured
Velvety spinach curry with golden-fried paneer — nutritious, vibrant and absolutely delicious.

Bold, tangy chickpea curry packed with spices — a street food staple that works as a main dish.

Dry-spiced potatoes and cauliflower — simple, aromatic, and endlessly satisfying.
Comments & Tips
Be the first to share your experience with this recipe!
Leave a Comment