 ⭐ Featured
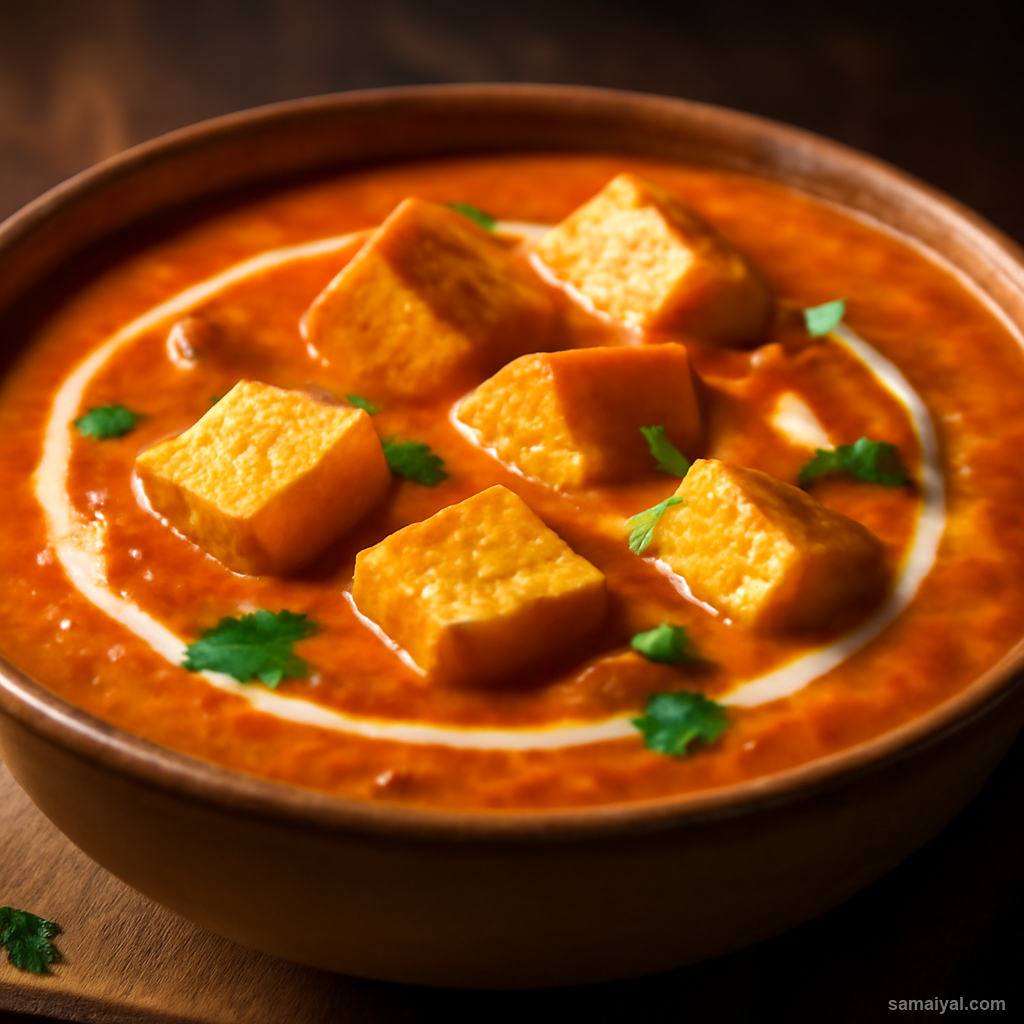
Butter Paneer Masala
Creamy tomato-based curry with soft paneer cubes — the all-time favourite of Indian...
Dried yellow peas with ginger and tamarind — the quick protein snack-curry of Assam
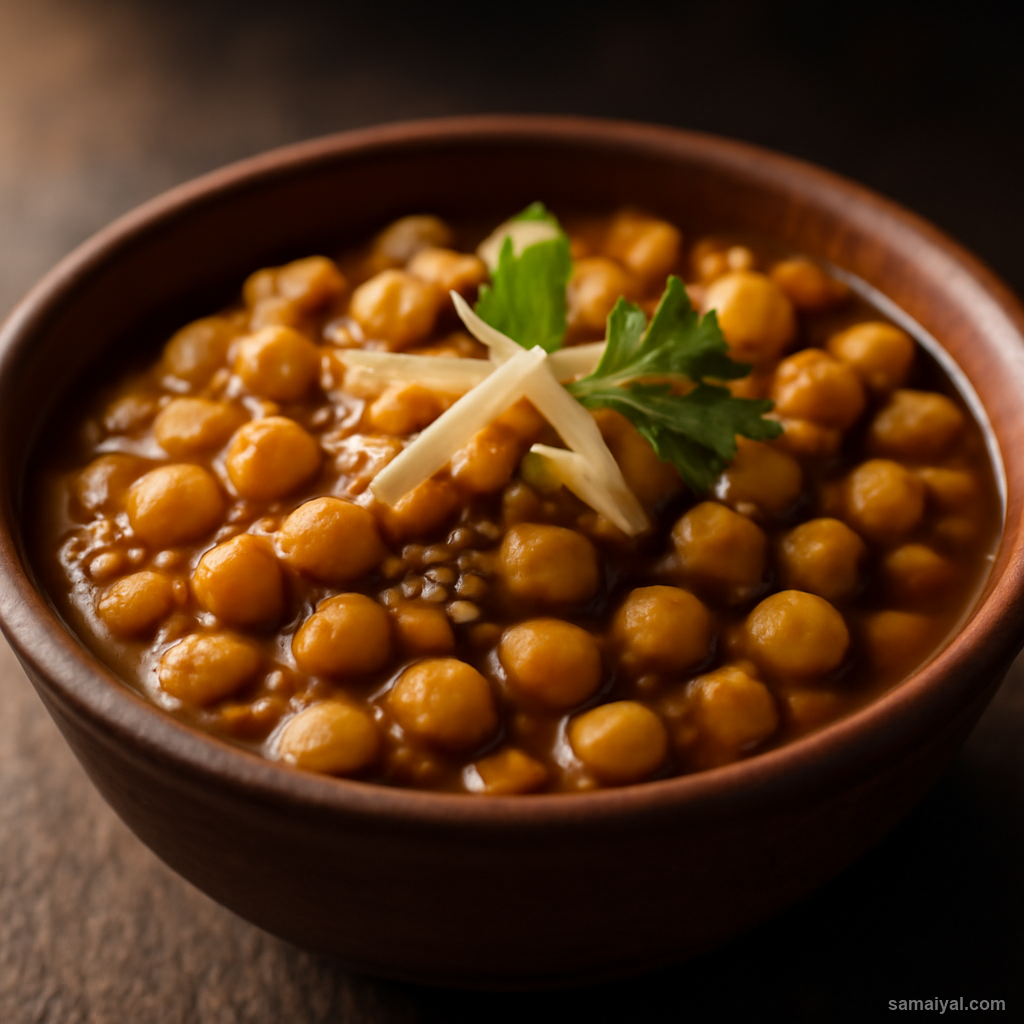
About Ghugni: Ghugni is the beloved street-food pea curry of Assam, Bengal and Bihar — dried yellow peas cooked with onion, ginger and a tangy tamarind finish. Eaten as a hearty snack, breakfast or side dish, it is most famously served with crispy puffed rice (muri) sprinkled into the pea curry just before eating, creating a delightful contrast of soft and crunchy.
Choose the right peas: Use 1 cup of dried yellow split peas (matar dal). They should be uniformly pale yellow, plump-looking, and free of shrivelled or discoloured pieces. Some Assamese cooks use whole dried peas (vatana) instead — both work, though whole peas need longer soaking and cooking.
Soak overnight: Wash the peas in 3-4 changes of cold water until the water runs nearly clear. Cover with plenty of cold water (the peas roughly triple in size) and soak for 8 hours or overnight. Discard the soaking water completely; it contains compounds that cause digestive discomfort.
Pressure cook to tender: Place the soaked peas in a pressure cooker with 3 cups water and 1 tsp salt. Cook on high heat for 4-5 whistles, then on low heat for 5 more minutes. The peas should be soft enough to mash gently but still hold their shape — not mushy. If using whole peas, cook for 6-7 whistles plus 10 more minutes on low.
If no pressure cooker: Boil the soaked peas in 4 cups water with salt for 75-90 minutes until soft. Top up water as needed.
Reserve the cooking liquid: Drain the peas through a sieve, but reserve the cooking liquid — it is full of flavour and will be used to make the gravy. You should have about 1 cup of liquid.
Prepare the onion: Take 1 medium onion. Peel and chop into fine 5mm dice.
Prepare the aromatics: Take 3 garlic cloves. Crush, peel and mince finely. Take a 1-inch piece of fresh ginger. Peel and grate to get 1 tsp.
Prepare the tamarind: Take 1 tbsp tamarind paste (the dark concentrated kind, not the diluted juice). If using a tamarind block, soak a marble-sized piece in 3 tbsp warm water for 15 minutes, squeeze and strain to extract pulp. The tamarind is essential — it gives ghugni its distinctive sweet-sour-savoury balance.
Heat the mustard oil: Pour 1 tbsp mustard oil into a heavy pan or kadhai over medium-high heat. Heat for 30 seconds until smoking, to remove the raw bitter edge. Reduce to medium.
Fry the onion: Add the chopped onion. Stir-fry for 6-7 minutes, stirring often, until deep golden brown. Well-browned onion is the foundation of the ghugni's sweetness, balancing the tamarind tang.
Add ginger and garlic: Add the minced garlic and grated ginger. Stir for 1-2 minutes until fragrant. Do not let them go dark.
Add dry spices: Sprinkle in 1 tsp turmeric powder and 1 tsp red chilli powder. Stir for 30 seconds — the masala will turn a beautiful rust-red.
Optional - add ghugni masala: Some Assamese cooks add a special ghugni masala mix at this point — 1/2 tsp roasted cumin powder and a pinch of garam masala. Both are optional but excellent.
Add the cooked peas: Tip in the drained peas along with their reserved cooking liquid. Stir well to combine. The mixture will turn a beautiful tan-orange.
Add the tamarind: Add the 1 tbsp tamarind paste (or strained tamarind water). Stir well. The tamarind will infuse the dish with its distinctive sour note. Bring to a gentle simmer.
Mash partially for body: Use the back of a wooden spoon to mash about a third of the peas against the sides of the pan. This thickens the ghugni naturally without flour or thickener — the rustic body is essential to the dish.
Simmer to develop flavour: Reduce heat to medium-low. Simmer uncovered for 8-10 minutes, stirring every 2-3 minutes. The peas will absorb the masala and the gravy will thicken to a rich, slightly chunky consistency. The colour will deepen to a beautiful deep amber.
Check the consistency: The ghugni should be moderately thick — like a thick stew, not a thin curry, not a dry vegetable. If too thick, stir in 2-3 tbsp hot water; if too thin, simmer 2 more minutes uncovered.
Final seasoning: Taste and adjust salt, tamarind or chilli to your liking. The ghugni should hit you with multiple flavours — earthy peas, sweet caramelised onion, sharp tamarind, warm chilli. Some homes add a pinch of sugar at this stage to balance the tang.
Garnish and serve: Switch off heat. Sprinkle 2 tbsp finely chopped fresh coriander over the top. Some homes also add 1/2 tsp fresh ginger julienne and 2 tbsp finely chopped raw onion as final toppings — these add fresh contrast.
The traditional way to serve: Place 1/2 cup of crispy puffed rice (muri) in each serving bowl. Ladle the hot ghugni over the puffed rice — about 1 cup per portion. The puffed rice partially softens in the warm gravy while staying mostly crisp. Squeeze a wedge of lemon over the top, sprinkle a few extra raw onion pieces, and eat immediately. The contrast of soft pea-tamarind ghugni and crackling puffed rice is the entire experience.
Alternative serving: Without the puffed rice, ghugni can be served with hot steamed rice, alongside roti or paratha, or stuffed into bread for an Assamese-style ghugni sandwich. Stored in the fridge in an airtight container, ghugni keeps for 3-4 days; reheat gently before serving.
⭐ Featured
Creamy tomato-based curry with soft paneer cubes — the all-time favourite of Indian...
 ⭐ Featured
Velvety spinach curry with golden-fried paneer — nutritious, vibrant and absolutely delicious.

Bold, tangy chickpea curry packed with spices — a street food staple that works as a main dish.

Dry-spiced potatoes and cauliflower — simple, aromatic, and endlessly satisfying.
Comments & Tips
Be the first to share your experience with this recipe!
Leave a Comment