 ⭐ Featured
Gulab Jamun
Soft milk-solid dumplings soaked in fragrant rose sugar syrup — India's most beloved sweet.
Roasted all-purpose flour balls with ghee and sugar — a simple Bihar festival sweet
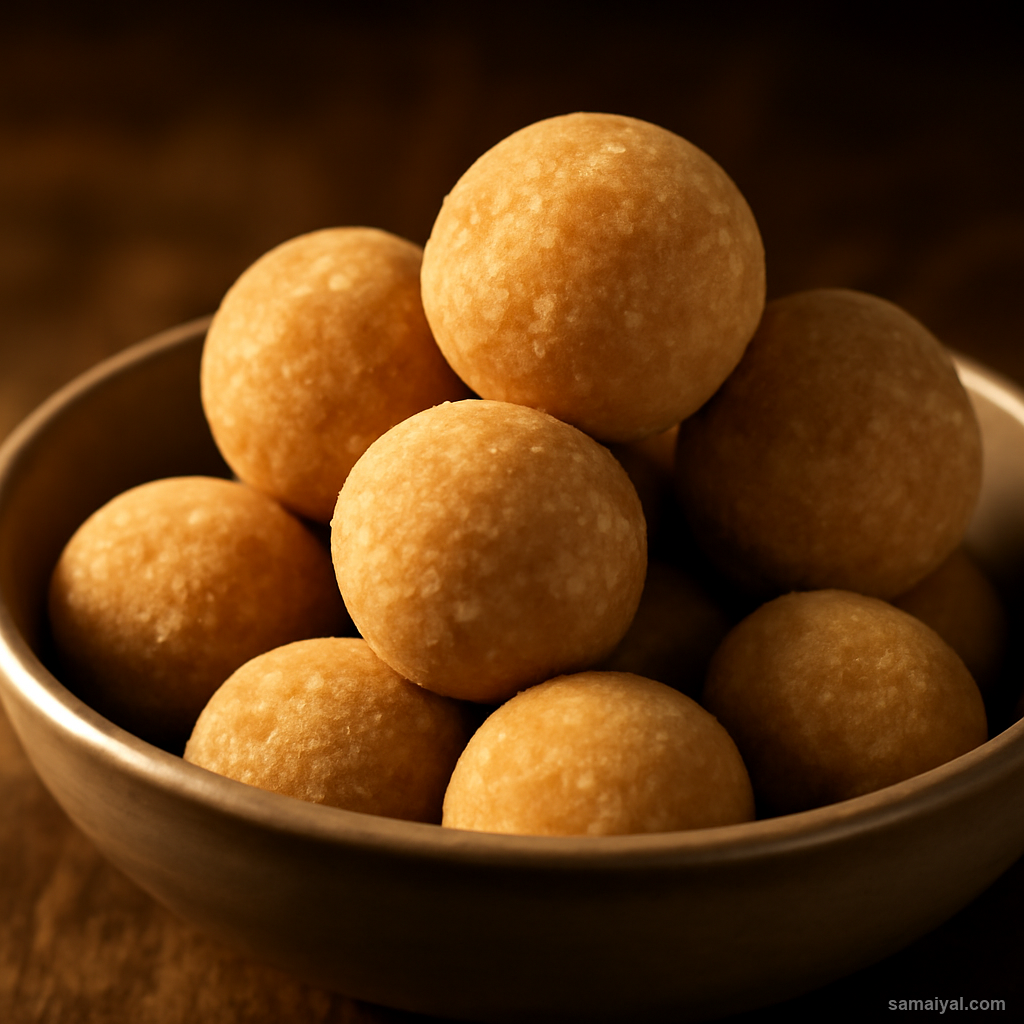
About Bihari Maida Laddoo: Maida Laddoo is the simpler, faster cousin of Besan Laddoo — made when chickpea flour is unavailable or for smaller pujas like Navratri and household celebrations. The recipe is forgiving, the technique is similar, and the result is a tender, melt-in-mouth sweet that holds for over a week.
Use fresh maida: Use 2 cups of all-purpose flour (maida). The flour should smell clean and neutral; old flour develops a slightly stale smell that ruins the ladoo.
Sift the flour: Sift the maida into a wide bowl through a fine sieve to remove any lumps and aerate it. Sifted flour roasts more evenly and produces a finer-textured ladoo.
Prepare the powdered sugar: Use 3/4 cup of fine powdered icing sugar. Granulated sugar will not dissolve and produces gritty ladoos. To make your own, blitz granulated sugar in a dry blender until completely powdered.
Measure the cardamom: Use 1/4 tsp green cardamom powder. Freshly ground from whole pods is dramatically more aromatic than pre-ground — crack open 4-5 pods and grind the seeds in a mortar.
Warm the ghee: Take 4 tbsp of pure ghee. Place in a heavy-bottomed kadhai or non-stick pan over medium-low heat. Heat for 30 seconds until fully melted and shimmering. Do not let it brown.
Add the maida: Tip in the sifted maida. Stir with a wooden spoon to combine with the ghee.
Roast on low heat: Reduce heat to low — low heat is critical here, maida burns more easily than besan because of its finer texture. Stir continuously with the wooden spoon. The mixture will look pale and pasty at first.
Watch the colour and aroma: After 4-5 minutes the maida will start to dry up and feel looser. After 8 minutes the colour deepens to a light cream-tan and the aroma turns clearly toasted — like the smell of a good biscuit. After 10 minutes it should be a rich pale golden colour.
Do the smell test: Stop when the kitchen smells of toasted flour and the colour is a uniform golden tan. Maida should never go as dark as besan; if it goes brown, it tastes bitter. Err on the lighter side.
Cool the mixture: Transfer the roasted maida to a wide plate or shallow dish to spread out and cool faster. Cooling is essential — adding sugar to hot flour melts the sugar and produces a sticky lump that cannot be shaped. Let cool until just warm to the touch — about 15 minutes.
Add the sugar and cardamom: Once cool to the touch but still warm, sprinkle in the 3/4 cup powdered sugar and 1/4 tsp cardamom powder. Mix thoroughly with your hand for 1-2 minutes until the sugar is completely incorporated.
Adjust the binding with milk: Maida ladoos do not bind as readily as besan ladoos — they need a little extra moisture. Add 1 tbsp milk and mix. Squeeze a small handful in your fist — if it holds together when pressed, it is ready. If still crumbly, add 1 more tbsp milk. If too wet, add 1 tbsp more roasted maida and re-mix.
Shape into ladoos: Take small lemon-sized portions of the mixture. Squeeze firmly in your fist for 10 seconds — the heat of your hand and the binding milk hold them together. Then roll between your palms into smooth round balls. Work while the mixture is still warm; cold mixture is harder to bind.
Cool and store: Place the shaped ladoos on a plate to cool completely — about 30 minutes. They firm up nicely as they cool. Once fully cool, store in an airtight container at room temperature; they keep for 1-2 weeks. Avoid the fridge, which makes them dry out faster.
⭐ Featured
Soft milk-solid dumplings soaked in fragrant rose sugar syrup — India's most beloved sweet.

Slow-cooked rice pudding with cardamom, saffron, nuts and rose water — pure comfort in a bowl.

Slow-cooked grated carrot pudding with ghee, milk and cardamom — a winter celebration classic.

Spongy soft chenna balls cooked in light sugar syrup — the iconic Bengali sweet.
Comments & Tips
Be the first to share your experience with this recipe!
Leave a Comment