 ⭐ Featured
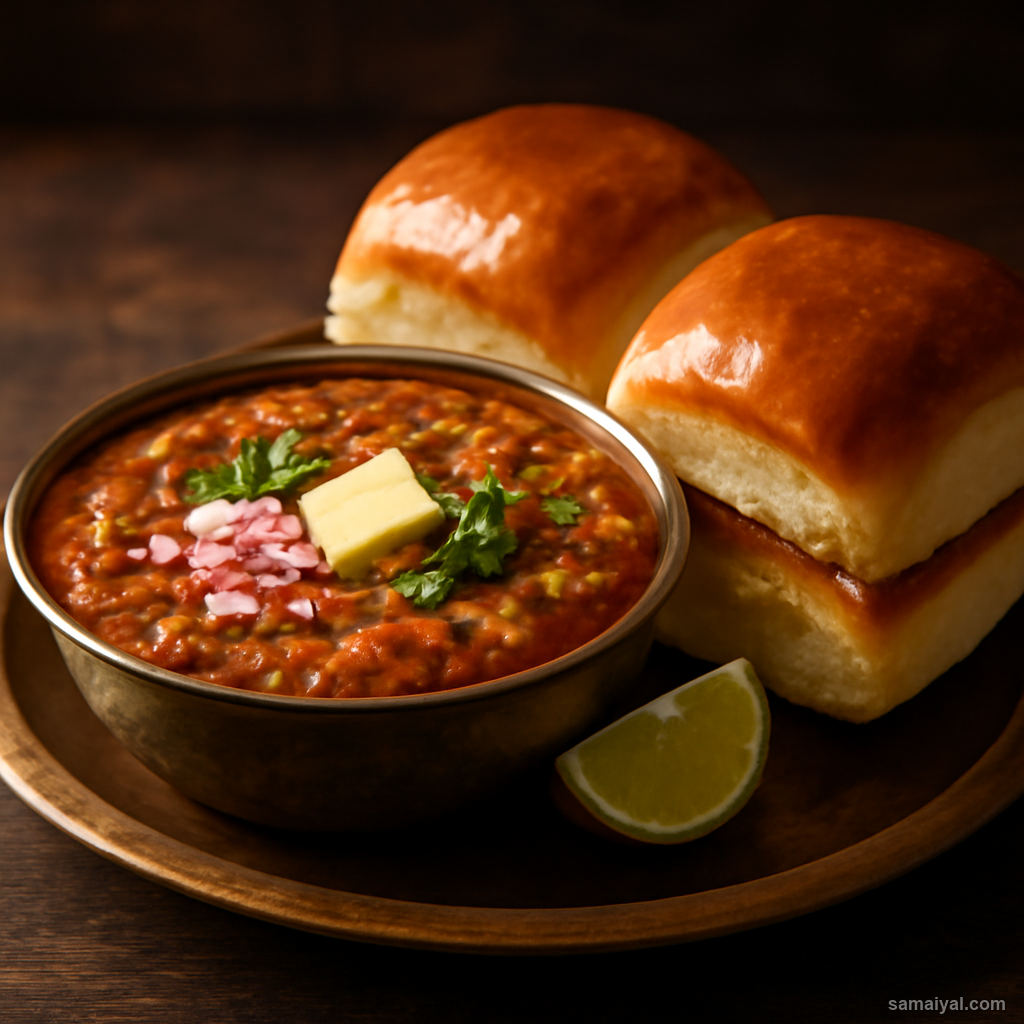
Pav Bhaji
Mumbai's beloved mashed vegetable curry served on butter-toasted soft buns — street food gold.
Urad dal papads deep-fried until blistered and served topped with finely chopped onion, tomato, green chilli and a squeeze of lemon — the simplest and most universally served starter at every Punjabi dhaba meal, eaten before the main dish arrives.
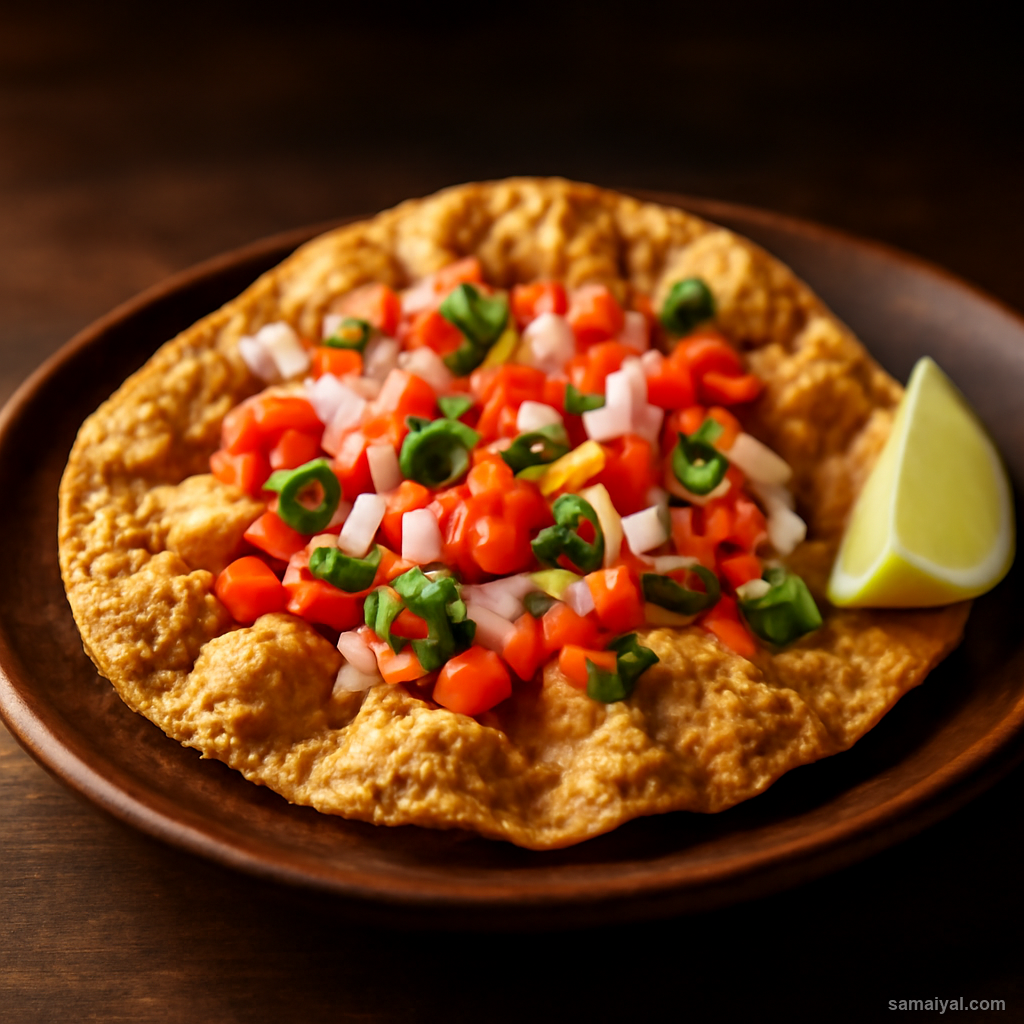
Prepare the topping first: Finely chop onion, tomato, green chilli and coriander. Mix together. Add lemon juice, chaat masala and black salt. Toss. Set aside.
Heat oil for frying: Heat oil in a wide flat kadai on medium-high. The oil should be at least 4 cm deep.
Fry the papad: Hold one papad at its edge. Slide it into the hot oil. It will immediately begin to blister and curl. Using two slotted spoons, flatten and hold it down in the oil, rotating it slowly so all parts contact the hot oil.
Fry 20 to 30 seconds only: The papad fries very quickly — within 20 to 30 seconds it should be completely puffed and blistered all over. Do not over-fry — it burns quickly.
Remove and drain: Remove with tongs. Drain on paper towels. It will crisp up completely within 10 seconds of leaving the oil.
Fry all papads one at a time.
Alternative roasting method: Hold each papad directly over a medium gas flame with tongs. Rotate constantly. The papad will puff and blister in 15 to 20 seconds. This produces a lighter, less oily result.
Top immediately before serving: Place 2 fried papads per serving plate. Top generously with the onion-tomato mixture.
Add extra lemon: Squeeze additional lemon over just before serving.
Eat immediately: Papad softens within 3 to 4 minutes after topping — eat promptly.
Note: Papad is the universal starter at every Punjabi meal — served free-of-charge at dhabas while the main food is being prepared. The topping of raw chopped onion, tomato and green chilli is the Punjabi papad masala style. Amritsari urad dal papads are considered among the finest in India — the Amritsari papad is slightly thicker and crisper than papads from other regions.
⭐ Featured
Mumbai's beloved mashed vegetable curry served on butter-toasted soft buns — street food gold.

Fluffy steamed chickpea flour cake from Gujarat — light, spongy, tangy and totally addictive.

Mumbai's vegetarian burger — spiced potato dumpling in a fried batter, served in a...
 ⭐ Featured
Crispy golden pastry filled with spiced potatoes and peas — India's most loved snack,...
Comments & Tips
Be the first to share your experience with this recipe!
Leave a Comment