 ⭐ Featured
Butter Paneer Masala
Creamy tomato-based curry with soft paneer cubes — the all-time favourite of Indian...
Paneer cooked in khar alkaline solution — the vegetarian khar of Assamese Hindu households
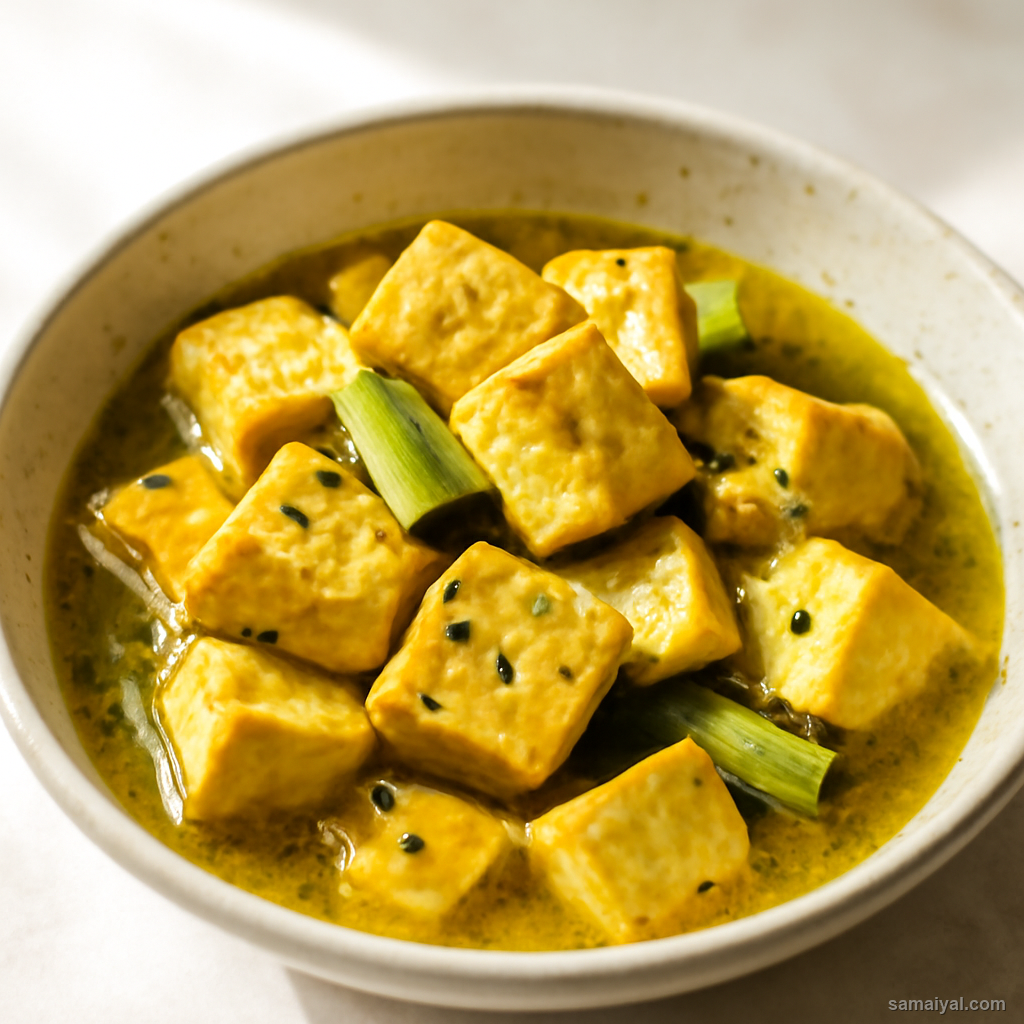
About Paneer Khar: Khar is the alkaline cooking technique that defines Assamese cuisine — traditionally made by filtering ash from sun-dried banana peels through water. Paneer Khar is the vegetarian adaptation favoured by Assamese Hindu households who avoid meat — the alkaline solution gives the paneer a subtly different mineral depth that you cannot get any other way.
Understand khar: Authentic khar (kolakhar) is made by burning sun-dried banana skins, soaking the ash in water and filtering. As a beginner, dissolve 1/2 tsp food-grade baking soda in 2 cups of water — that is your khar solution. If you have access to authentic Assamese khar, use 2 tbsp.
Choose firm paneer: Use 200g of firm, fresh paneer. Soft or crumbly paneer will fall apart in the alkaline liquid. If your paneer feels soft, wrap it in muslin and place a flat plate with a weight on top in the fridge for 30 minutes — this firms it up.
Cut the paneer: Cut the paneer into 2cm cubes. Smaller cubes cook through too fast in the alkaline liquid; larger ones do not absorb the flavour. Aim for the size of large dice.
Firm the paneer further with a brine: Optional but recommended for beginners — bring 2 cups of water and 1/2 tsp salt to a gentle simmer. Drop in the paneer cubes and cook for 30 seconds, then drain. This pre-cooking firms up the paneer so it does not break in the khar bath.
Prepare the green chilli: Take 1 fresh green chilli. Slit lengthwise from tip to stem, leaving the stem intact. Slitting (not slicing) lets the heat infuse without the chilli pieces breaking apart in the dish.
Chop the coriander: Take a small handful of fresh coriander leaves with the tender stems. Wash, shake dry and chop roughly. Set aside for garnish.
Bring khar to a gentle simmer: Pour the khar solution (or baking soda water) into a heavy-bottomed pan or pot. Place over medium heat and bring to a gentle simmer — small bubbles around the edges, not a rolling boil. Use stainless steel or enamel; avoid aluminium, which reacts with the alkali.
Add the paneer and chilli: Carefully lower the paneer cubes into the simmering khar to avoid splashing. Add the slit green chilli. The cubes should be just covered by the liquid; add a little more water if needed.
Cook gently: Reduce heat to low. The liquid should be barely shimmering, not bubbling. Cook for 15 minutes. Vigorous boiling would break the paneer cubes; a gentle bath lets the alkali penetrate without violence.
Do not stir aggressively: If you must stir, do so just once with a flat spoon, and very gently — paneer cubes break easily once they have absorbed the alkali. Let them sit undisturbed mostly.
Drain carefully: Place a colander over a heatproof bowl. Tip the contents through gently. Discard the khar liquid (do not reuse it for anything else; it is alkaline). Reserve the chilli with the paneer.
Dress while warm: Transfer the drained paneer cubes to a serving dish. Drizzle 1 tsp raw mustard oil over them. The hot paneer absorbs the mustard oil aroma immediately — this is the defining smell of the dish.
Season and garnish: Sprinkle salt to taste — usually 1/4 to 1/2 tsp is enough, since khar already provides some mineral salinity. Toss extremely gently. Scatter chopped coriander over the top.
Serve: Paneer Khar is served at room temperature or just-warm as a side dish, traditionally at the start of an Assamese meal alongside steamed rice. Its alkaline character is believed to prepare the digestion for richer dishes that follow.
⭐ Featured
Creamy tomato-based curry with soft paneer cubes — the all-time favourite of Indian...
 ⭐ Featured
Velvety spinach curry with golden-fried paneer — nutritious, vibrant and absolutely delicious.

Bold, tangy chickpea curry packed with spices — a street food staple that works as a main dish.

Dry-spiced potatoes and cauliflower — simple, aromatic, and endlessly satisfying.
Comments & Tips
Be the first to share your experience with this recipe!
Leave a Comment