 ⭐ Featured
Dal Makhani
Slow-cooked black lentils in a rich buttery tomato gravy — a Punjabi classic that...
Slow-braised pork belly with Assamese spices — the rich Sunday dinner of Assamese families
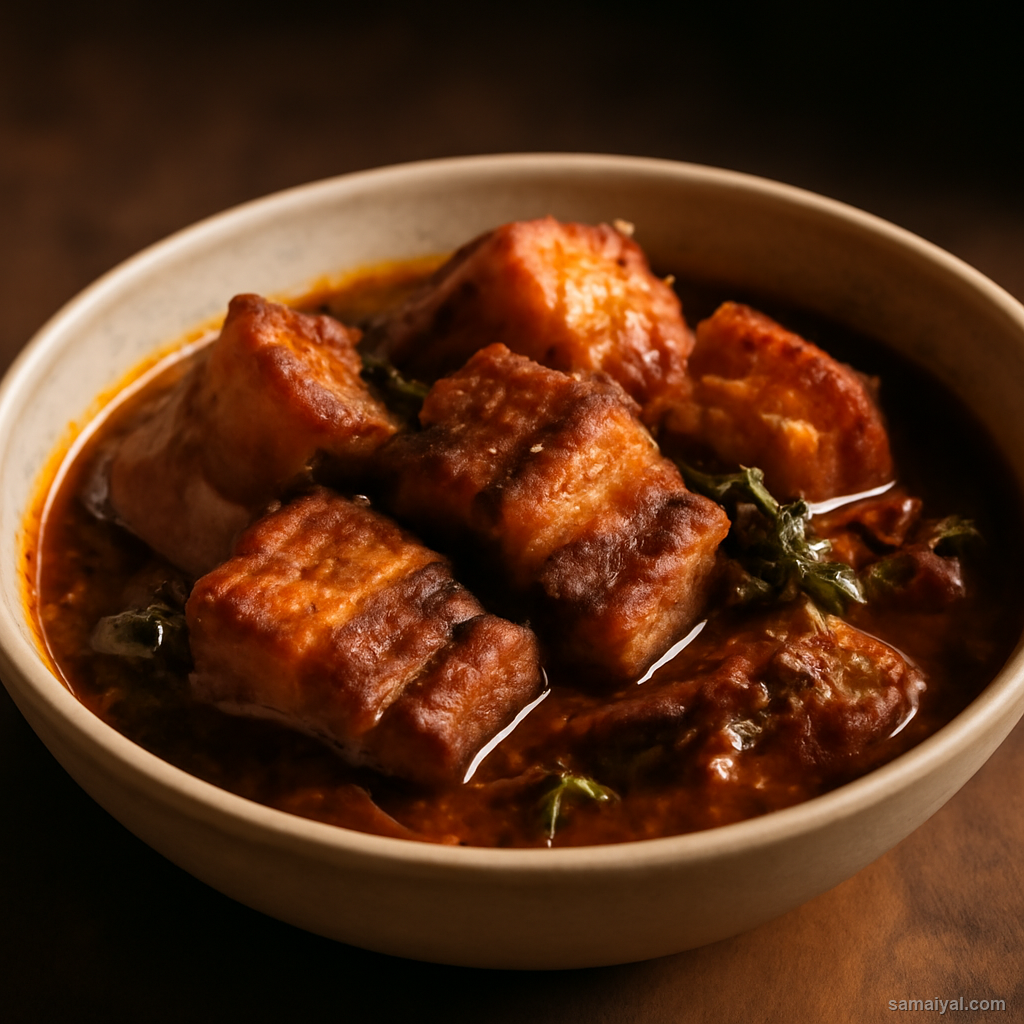
About Assam Pork Belly Braise: Slow-braised pork belly is the Sunday dinner centrepiece for Assamese non-vegetarian families and tribal communities — particularly the Bodo and Mising peoples for whom pork is a major protein. The Assamese version uses mustard oil as the cooking fat, which provides a distinctive sharpness that cuts through the rich pork. After 60 minutes of slow simmering, the pork becomes meltingly tender and the gravy reduces to a thick aromatic glaze.
Choose the right pork belly: Use 800g of fresh pork belly with the skin on. The cut should have visible layers of fat alternating with meat — about 60% meat to 40% fat is ideal. Skinless pork belly works but loses much of the dish's richness.
Clean the pork: Rinse the pork belly under cold running water. Pat dry thoroughly with kitchen paper. Drying is essential — wet pork steams rather than searing, which produces grey limp meat instead of golden caramelised exterior.
Cut into cubes: Cut the pork belly into 4cm cubes. Each cube should have a good ratio of fat to meat. Uniform cubes ensure even cooking — uneven sizes will be partly tough and partly mush.
Prepare the onion: Take 1 medium onion. Peel and chop into fine 5mm dice.
Prepare the garlic: Take 6 garlic cloves. Crush, peel and mince roughly. The relatively large amount of garlic is essential for this rich dish.
Prepare the ginger: Take a 2-inch piece of fresh ginger. Peel and grate finely or chop into very small pieces. Generous ginger balances the pork's richness.
Use a heavy pot with tight lid: Use a heavy-bottomed Dutch oven, large kadhai with lid, or thick-bottomed casserole. The lid must seal well — loose lids let moisture escape and the meat dries out instead of braising.
Heat the mustard oil correctly: Pour 3 tbsp mustard oil into the pot over medium-high heat. Heat for 1-2 minutes until smoking heavily — this is essential for pork. The smoking-then-cooling cycle removes the raw bitter character of mustard oil while preserving its pungent aromatic compounds.
The critical sear: Add the pork belly cubes to the smoking-hot oil in a single layer — fry in batches if your pot is small to avoid crowding. Crowded pork steams; spaced pork sears beautifully.
Do not move for 3 minutes: Let the pork sear undisturbed for 3 minutes on the first side. Moving it too soon strips the surface and prevents proper browning.
Turn and brown all sides: Use tongs to turn each cube. Continue searing for another 6-7 minutes total, turning the cubes so they brown on all sides. Each piece should be deep golden-brown all over, almost mahogany. Lift the pork out with a slotted spoon and set aside on a plate.
Fry the onion: To the same oil (and the rendered pork fat that should now be in the pot) add the chopped onion. Stir-fry on medium heat for 6-7 minutes, stirring often, until deep golden brown.
Add ginger and garlic: Add the minced garlic and grated ginger. Stir constantly for 2 minutes until fragrant and the kitchen fills with their aroma. Do not let them go dark.
Add the dry spices: Sprinkle in 1 tsp turmeric powder and 2 tsp red chilli powder. Stir for 30 seconds — the masala will turn a beautiful deep orange-red colour.
Add 2 bay leaves: Tear the bay leaves in half and drop into the pot. They will release their warm aroma into the masala.
Return the pork: Tip the seared pork cubes back into the pot along with any juices that have collected. Stir well to coat every cube in the masala.
Add water and salt: Pour in 1/2 cup hot water. Add salt to taste — about 1 tsp. Stir well to combine and lift any masala stuck to the bottom. Bring to a gentle simmer.
The critical low simmer: Reduce heat to the absolute lowest setting your stove allows. Cover the pot tightly. The braise needs gentle slow heat, not vigorous boiling — vigorous boiling toughens the meat.
Slow-cook for 60 minutes: Cook covered for 60 minutes, lifting the lid every 15 minutes to gently turn the cubes with tongs and check the moisture. The pork should always have a thin layer of liquid around it; if it looks dry, add 2-3 tbsp hot water.
Check doneness at 60 minutes: Pierce a cube with a fork — it should slide in with no resistance and the meat should pull apart easily. The fat should look translucent rather than white. If still firm, simmer covered for another 10-15 minutes.
Uncover and reduce: Once tender, remove the lid. Increase heat to medium. Stir gently every 1-2 minutes for the next 5-7 minutes, allowing the gravy to reduce to a thick glossy glaze that clings to the pork. Stop when the gravy coats the back of a spoon thickly.
Watch the rendered fat: As the gravy reduces, the rendered pork fat will rise to the top and pool at the edges. This is normal and traditional — Assamese pork dishes embrace the fat. If you prefer to skim, you can — but the fat carries much of the flavour.
Final taste check: Taste a piece. The pork should be meltingly tender, deeply savoury, with the mustard oil pungency present but not dominating. Adjust salt or chilli powder if needed.
Garnish and serve: Switch off heat. Sprinkle 2 tbsp sliced spring onions (white and green parts) over the top. Some Assamese homes also add 2 tbsp finely chopped fresh coriander.
Serve with rice: Serve hot over steamed rice — the most traditional pairing. The rich pork and aromatic gravy demand the neutral foundation of plain rice. A small piece of pickle or chilli paste on the side adds bright contrast.
For a complete Sunday meal: Pair with a simple stir-fried green vegetable (mustard saag, recipe id 1299) and a bowl of dal. The greens cut through the richness of the pork beautifully.
Leftover storage: Stored in the fridge in an airtight container, this dish keeps for 3-4 days and tastes even better the next day after the flavours have deepened. Reheat gently on the stovetop with a splash of water — never boil aggressively, which can make the cubes tough.
⭐ Featured
Slow-cooked black lentils in a rich buttery tomato gravy — a Punjabi classic that...

Red kidney beans in a thick spiced tomato gravy, best eaten with steamed basmati rice.

Royal Mughlai-style paneer in a cashew-cream gravy — rich, indulgent and perfect for...

Soft potato-paneer dumplings in a luscious cashew gravy — the vegetarian showstopper.
Comments & Tips
Be the first to share your experience with this recipe!
Leave a Comment