 ⭐ Featured
Aloo Paratha
Stuffed whole-wheat flatbread with spiced potato filling — the quintessential Punjabi...
Eggs with wild mountain herbs and green chilli — the quick protein breakfast of Arunachali plains
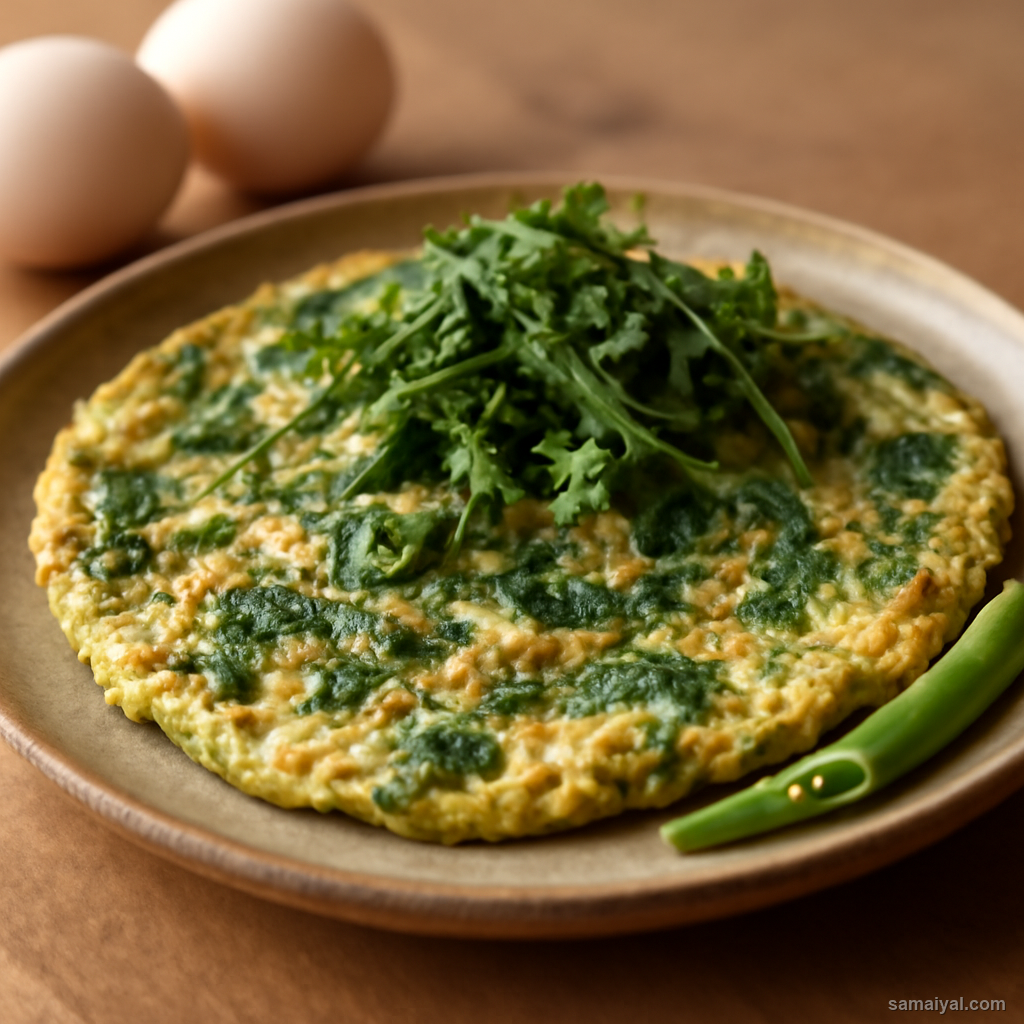
About Arunachal Leafy Omelette: This simple egg dish is the quick protein breakfast across the Arunachali plains and lower Himalayan villages. Eggs are beaten with chopped wild greens (or spinach for home cooks), green chilli and spring onion, then cooked into a flat folded omelette. It takes 10 minutes start to finish and provides solid morning energy along with the iron from the greens.
Understand the greens choice: Authentic Arunachali versions use wild forest herbs like sour leaf, stinging nettle (cooked first to neutralise stings), or local wild fern fronds. For home cooking, fresh spinach is the best widely-available substitute. Other good options include kale (finely chopped), young chard, or methi (fenugreek leaves).
Measure the greens: Use 1 cup of finely chopped greens. The greens should be very finely chopped — pieces no larger than 5mm — so they distribute evenly through the omelette and cook through in the brief cooking time.
Wash and dry the greens: Submerge in a big bowl of cold water and swish around to dislodge soil. Lift out — do not pour through, or grit comes back. Repeat with fresh water. Spin in a salad spinner or pat dry on a kitchen towel. Wet greens add water that turns the omelette soggy.
Finely chop the greens: De-stem if using thick-stemmed greens. Chop the leaves very finely on a board with a sharp knife. The aim is fine pieces that cook through quickly.
Prepare the green chilli: Take 1 fresh green chilli. Slice into very thin rounds, removing the seeds first if you prefer milder heat.
Prepare the spring onion: Take 1 spring onion (scallion). Wash and trim. Slice into thin rounds, separating the white parts from the green tops. The whites add gentle aromatic depth; the greens are for finishing freshness.
Crack the eggs: Crack 3 eggs into a small bowl. Use eggs at room temperature if possible — cold eggs don't whisk as smoothly.
Whisk the eggs well: Beat the eggs with a fork or small whisk for 30-45 seconds until completely combined and slightly frothy. Well-whisked eggs produce a fluffier omelette than under-whisked.
Season the egg mixture: Add 1/4 tsp salt and a generous pinch of black pepper to the eggs. Mix briefly to dissolve.
Add the greens: Add the chopped greens, sliced green chilli and the white parts of the spring onion to the egg mixture. Mix gently with the fork to distribute everything evenly. The mixture should look bright green-flecked.
Use a non-stick pan: Use an 18-20cm non-stick frying pan or omelette pan. A well-seasoned cast-iron pan works too. The non-stick surface is what allows the omelette to slide out cleanly without breaking.
Heat the mustard oil: Pour 1 tsp mustard oil into the pan. Place over medium heat. Heat for 30 seconds until the oil is shimmering and just begins to smoke — the brief smoking removes the raw bitter edge while leaving the pungent character.
Swirl the oil: Tilt the pan to coat the entire surface with a thin layer of oil. The pan should look glossy all over, not just in the centre. This even coating is what prevents sticking.
Reduce heat to medium-low: Lower the heat slightly. Eggs cook best at moderate heat — high heat browns the bottom before the top sets.
Pour in the egg mixture: Pour the egg-and-greens mixture into the pan in one smooth motion. Pick up the pan and tilt it in a circular motion to spread the mixture into an even layer covering the whole pan surface. Work quickly — the egg starts setting immediately.
Cook with the lid: Cover the pan with a lid (or a flat plate if you have no fitting lid). Cook on medium-low heat for 2-2.5 minutes. The covered cooking gently sets the top of the omelette using trapped steam, eliminating the need to flip.
Check doneness: Lift the lid carefully. The top surface should look just set — no wet shiny patches remaining. The bottom should be lightly golden. The greens should be wilted and bright. If the top is still wet, cover and cook 30 seconds more.
Fold and serve: Use a flat spatula to fold the omelette in half (semicircle shape). Some Arunachali style folds it into thirds (envelope shape) — either is correct. Slide onto a serving plate.
Garnish: Sprinkle the green parts of the spring onion over the top. Squeeze a few drops of lemon juice if you like brightness.
Serve with grains: Eat hot, alongside a hot roti, paratha, or rice. For a more substantial breakfast, serve with a small bowl of dal and a side of pickle. Some Arunachali villages eat it simply with a piece of leftover bread or millet bread (rotis made of finger millet flour, common in the highlands).
Variations: Add 2 tbsp grated cheese for a richer omelette. Add a few diced tomatoes for fresh contrast. Mix in 1/4 tsp turmeric for a golden colour. All are variations seen across different Arunachali households — there is no single correct version.
For pack-and-go: Cool the omelette completely, roll it tightly, and wrap in foil or parchment paper. Keeps at room temperature for 4-5 hours — perfect for travel breakfasts or office lunches.
⭐ Featured
Stuffed whole-wheat flatbread with spiced potato filling — the quintessential Punjabi...
 ⭐ Featured
Thin crispy rice-lentil crepe filled with spiced potato masala — the iconic South...
 ⭐ Featured
Steamed fermented rice cakes served with tangy lentil vegetable soup — South India's...

Crispy ring-shaped lentil fritters with fluffy interior — a South Indian must-have with sambar.
Comments & Tips
Be the first to share your experience with this recipe!
Leave a Comment